

Getting Started as an Administrator
Accessing DFM for the First Time
-
Access the Web Interface: Open your preferred web browser and navigate to the following URL:
http://<VM_IP>:8080
Note: Replace <VM_IP> with the actual IP address of the server where DFM is hosted. -
You will be directed to the DFM login page.
Enter the DFM credentials (username and password) provided to you via email, then click Sign in to your Account to access your DFM instance.

-
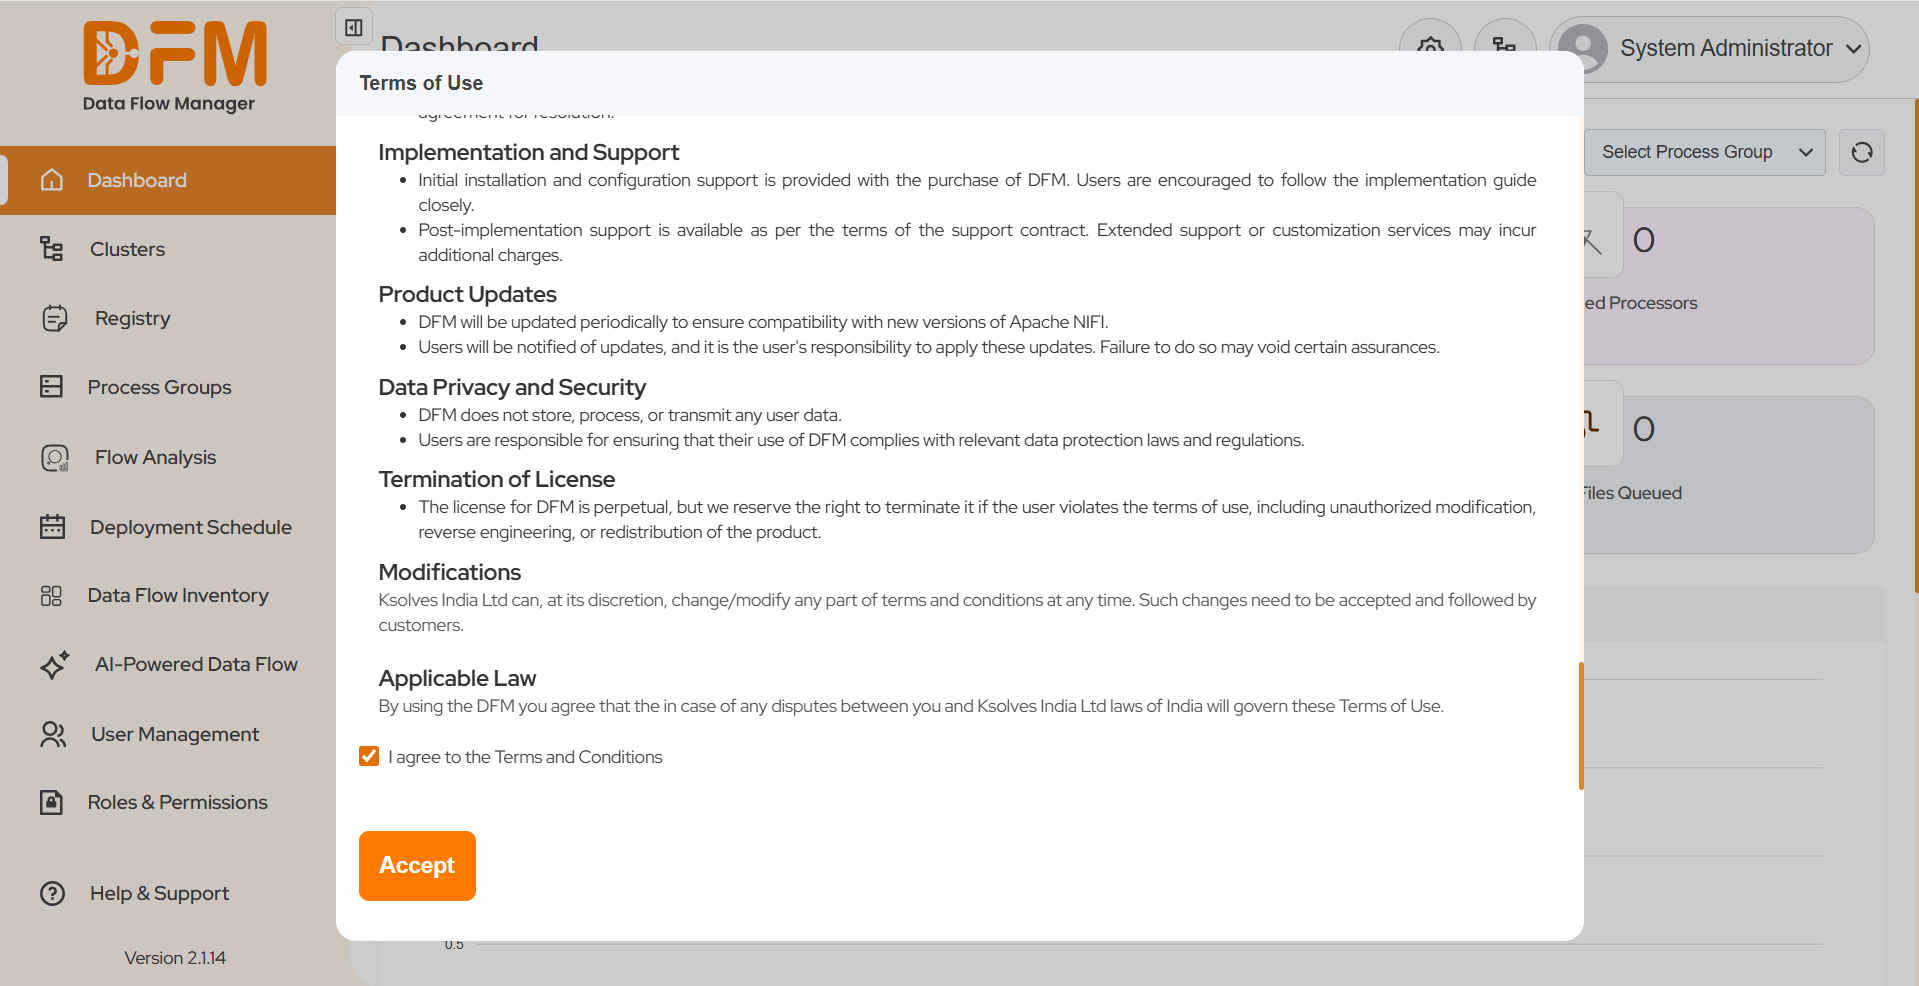
After logging in, a Terms of Use window will appear.
Carefully review the terms, then select “I agree to the terms and conditions” and click Accept.

-
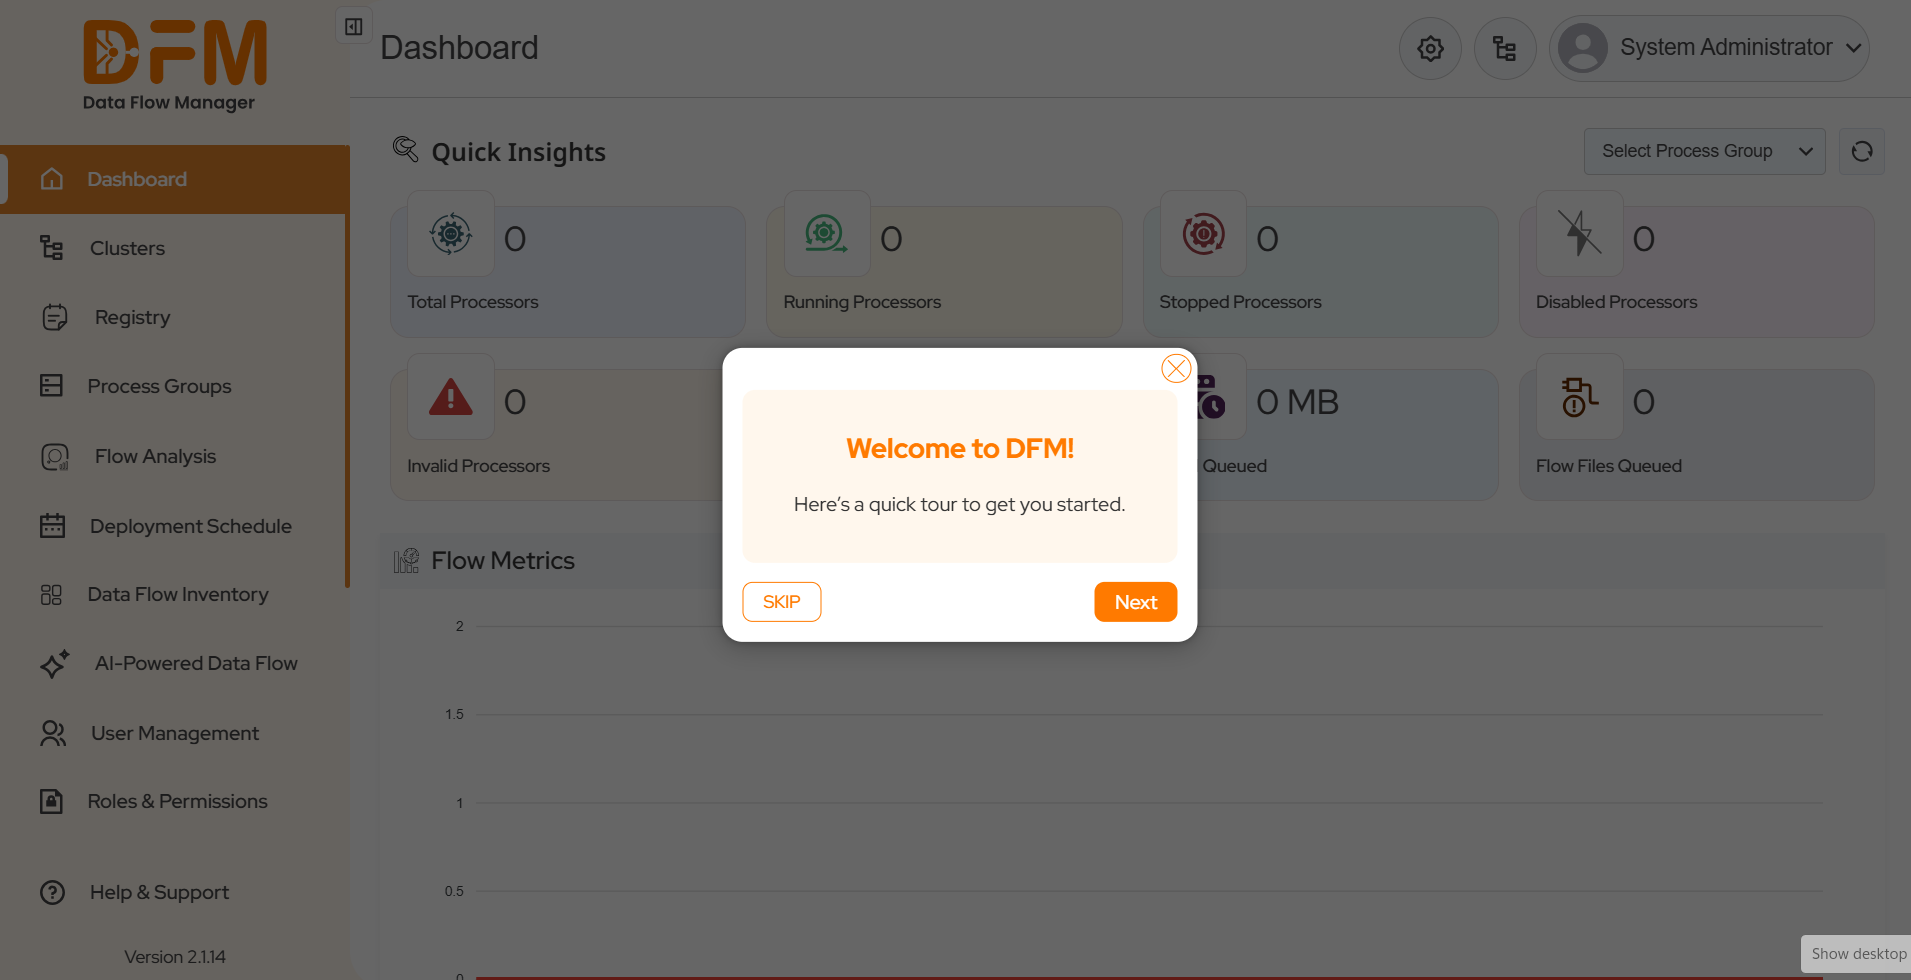
Upon acceptance, a Tour modal will appear.
This modal provides a brief overview to help you understand DFM’s key features and navigation.


Setting DFM Login Methods for User
DFM supports multiple authentication methods to provide flexibility and security:
- LDAP
-
SSO(Single Sign-On) Login
- 2.1. Keycloak
- 2.2. Azure
Note: System administrator must configure the desired login method for the user before it becomes available on the login page.
Configuring LDAP
DFM allows administrators to integrate with an LDAP (Lightweight Directory Access Protocol) server for centralized user authentication and management.
Follow the steps below to configure LDAP in DFM.
1. Open Settings
- Click the gear icon located in the top-right corner of the DFM interface, or select Settings from the navigation menu.
2. Access the LDAP Tab
- In the Settings modal, navigate to the LDAP tab.
3. Enable LDAP and LDAP Auto Sync
- Turn on the LDAP toggle to enable LDAP authentication.
- Enable LDAP Auto Sync to automatically synchronize any new users added to the LDAP directory with DFM.
- The synchronization occurs based on the Auto Sync interval you configure.
Note: When LDAP Auto Sync is enabled, any new users created in the LDAP directory will automatically appear in the DFM user list after the defined sync interval.
4. Open LDAP Configuration
- Click Change Configuration to open the LDAP Configuration modal.
5. Set Up the LDAP Connection
- Enter the LDAP URL, Login DN, and Password to establish a secure connection to your LDAP server.
- Click Connect to test the connection.
- If the connection is successful, a confirmation dialog will appear.
6. Complete the Configuration
- After successfully connecting, click on Continue and then enter any additional configuration details as required.
- Click Continue to proceed.
7. Map Roles
- Assign DFM roles to corresponding LDAP roles to ensure proper access control.
- To create a new DFM role, click the Add New Role button located at the top-right corner of the modal.
- Once roles are assigned, click Save Mapping to complete the LDAP configuration. A confirmation dialog will display “LDAP Users Synced Successfully.”
8. Verify LDAP Login Options
- Log out from the Super Admin account.
-
On the DFM login page, you will now see two login options:
- User
- Administrator
9. Users configured in the LDAP directory can now log in using the User option on the login screen.
How It Works
1. Authenticate the user on LDAP with the provided username and password.
2. DFM checks whether the user attempting to log in already exists in the system.
- If the user exists, the login is successful.
- If the user does not exist , DFM displays an error message indicating that the user is not found.
Configuring Keycloak SSO Login
DFM supports integration with Keycloak Single Sign-On (SSO) to provide secure and centralized authentication for users.
Follow the steps below to configure Keycloak SSO in DFM.
1. Open Settings
- Click the gear icon located in the top-right corner of the DFM interface, or select Settings from the navigation menu.
2. Access the SSO Tab
- In the Settings modal, navigate to the SSO tab.
3. Enable SSO Login
- Turn on the SSO Login toggle.
- Once enabled, the Login Type dropdown will appear.
- From the dropdown, select Keycloak.
4. Enter Keycloak Configuration Details
-
After selecting Keycloak, you will see the following required fields:
- Client ID
- URL
- Realm
- Fill in all the fields with valid Keycloak configuration values.
- Click Save Settings to apply the configuration.
5. Verify Keycloak Login Option
- Log out from your Admin account.
- On the DFM login page, under the User tab, you will now see a “Sign in via Keycloak” option.
- If LDAP is also enabled then you will see both options “Sign in via Keycloak” option and Username Password field for signing in with LDAP.
How It Works
1. DFM checks if the user attempting to log in exists in the system.
- If the user does not exist, DFM automatically creates the user based on Keycloak credentials.
- If the user already exists, DFM logs the user in successfully.
Configuring Azure SSO Login
DFM supports integration with Azure Single Sign-On (SSO), allowing users to log in securely using their organizational Microsoft credentials.
Follow the steps below to configure Azure SSO in DFM.
1. Open Settings
- Click the gear icon located in the top-right corner of the DFM interface, or select Settings from the navigation menu.
2. Access the SSO Tab
- In the Settings modal, navigate to the SSO tab.
3. Enable SSO Login
- Turn on the SSO Login toggle.
- Once enabled, the Login Type dropdown will appear.
- From the dropdown, select Azure.
4. Enter Azure Configuration Details
-
After selecting Azure, the following required fields will appear:
- Azure Client ID
- Azure Client Secret
- Azure Tenant ID
- Azure Redirect URI
- Fill in these fields with valid values from your Azure application configuration.
- Click Save Settings to apply the configuration.
5. Verify Azure Login Option
- Log out from your Admin account.
- On the DFM login page, under the User tab, you will now see a “Sign in via Microsoft” option.
- Users can click this option to sign in using their Microsoft credentials via Azure SSO.
- If LDAP is also enabled then you will see both options “Sign in via Microsoft” option and Username Password field for signing in with LDAP.
How It Works
1. When a user attempts to log in, DFM retrieves the onPremisesData from the Azure authentication token.
2. DFM then checks whether the user exists in the system.
- If the user exists, the login proceeds successfully.
- If the user does not exist, DFM displays an error message and prevents login.