

1. Log in to DFM as an Admin
Enter the DFM credentials (username and password) provided via email. Click Sign in to your Account to access the DFM instance.
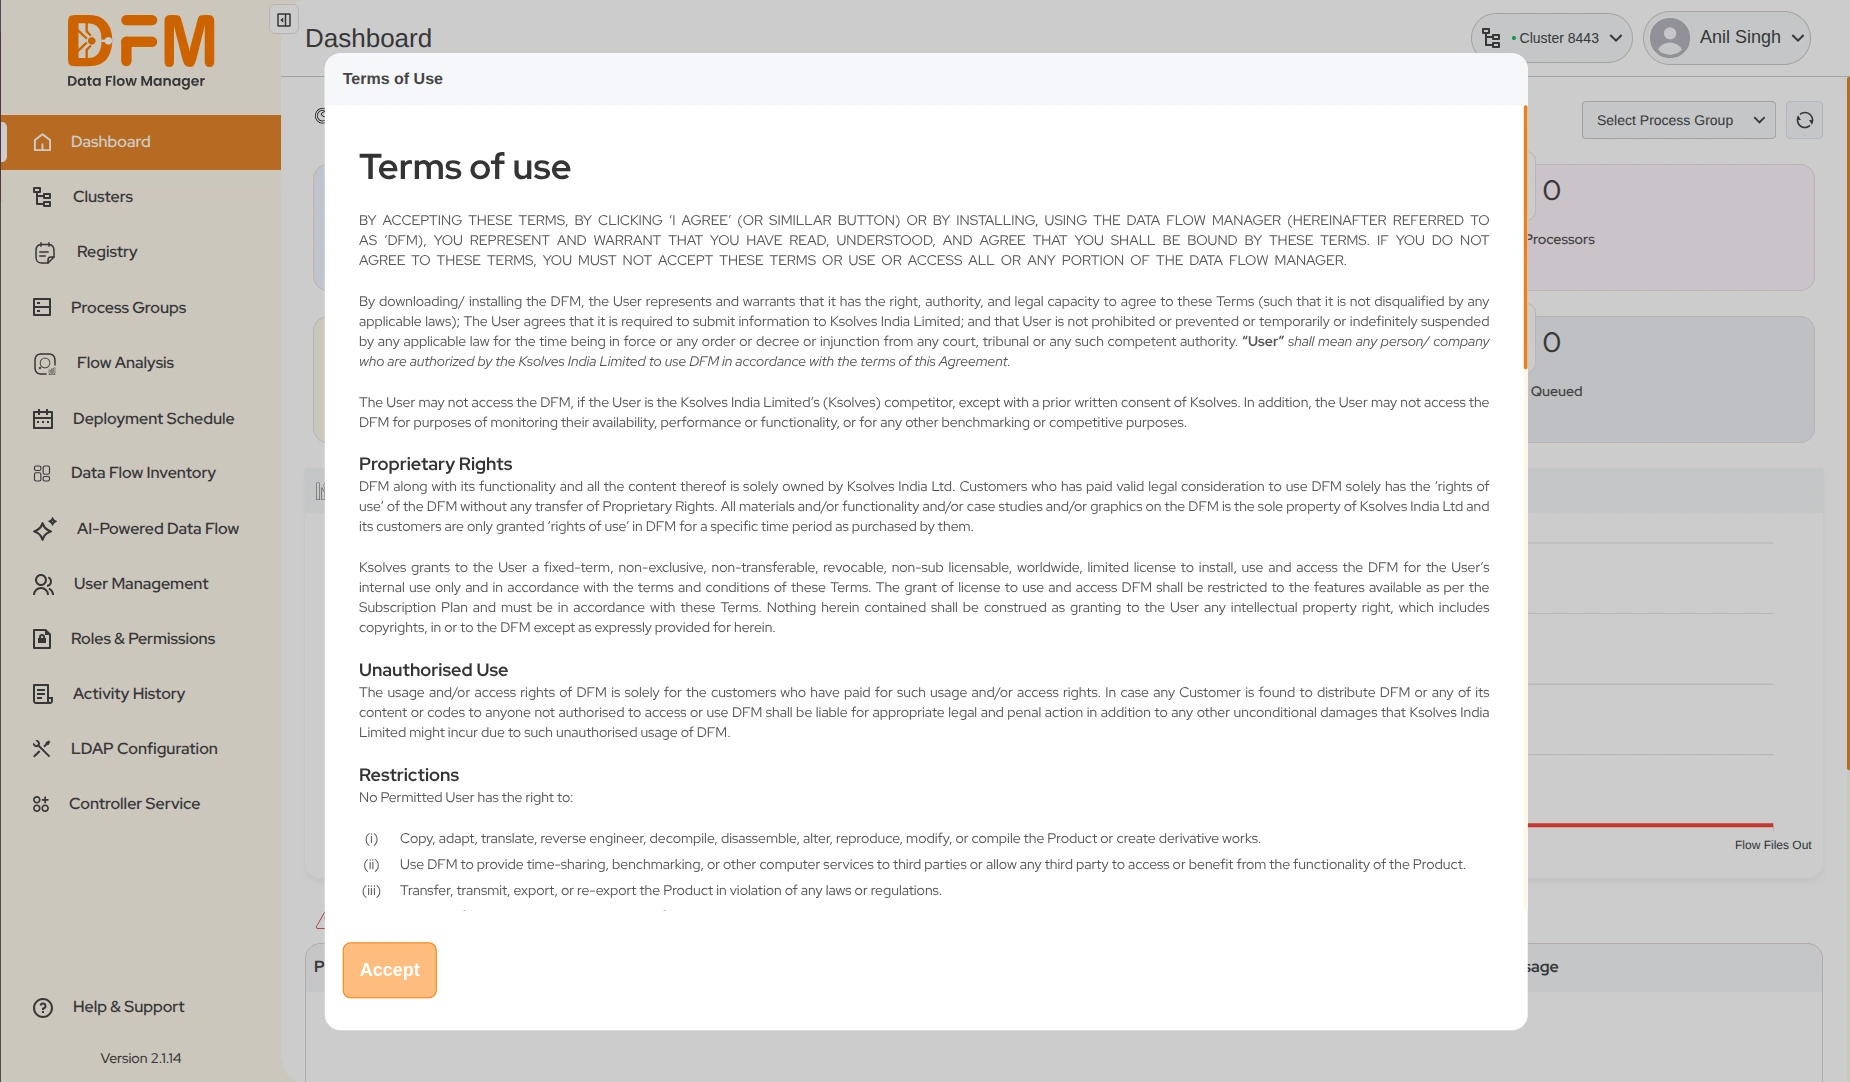
After signing in, review the Terms of Use, check the box to confirm your agreement, and click Accept.
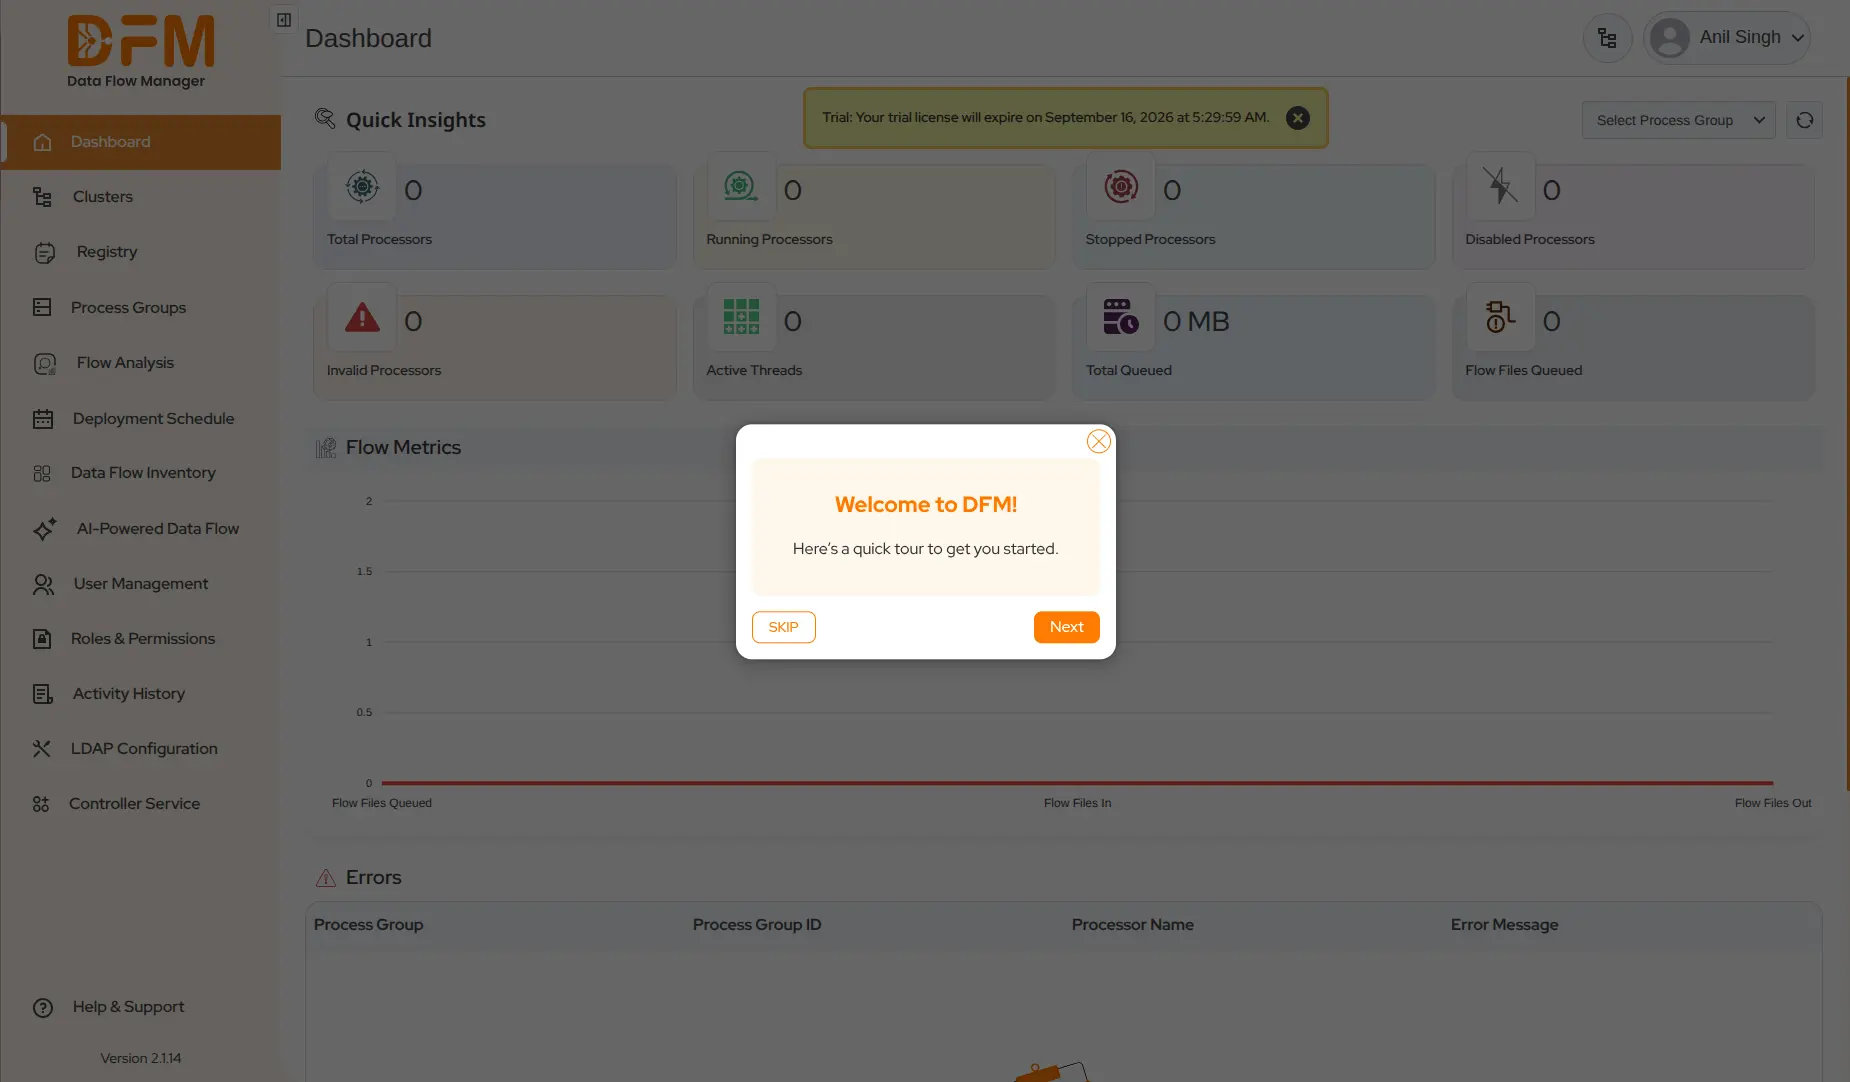
Once you log in, you will have a cluster onboarded already under the Cluster module.
2. Log in to a Cluster
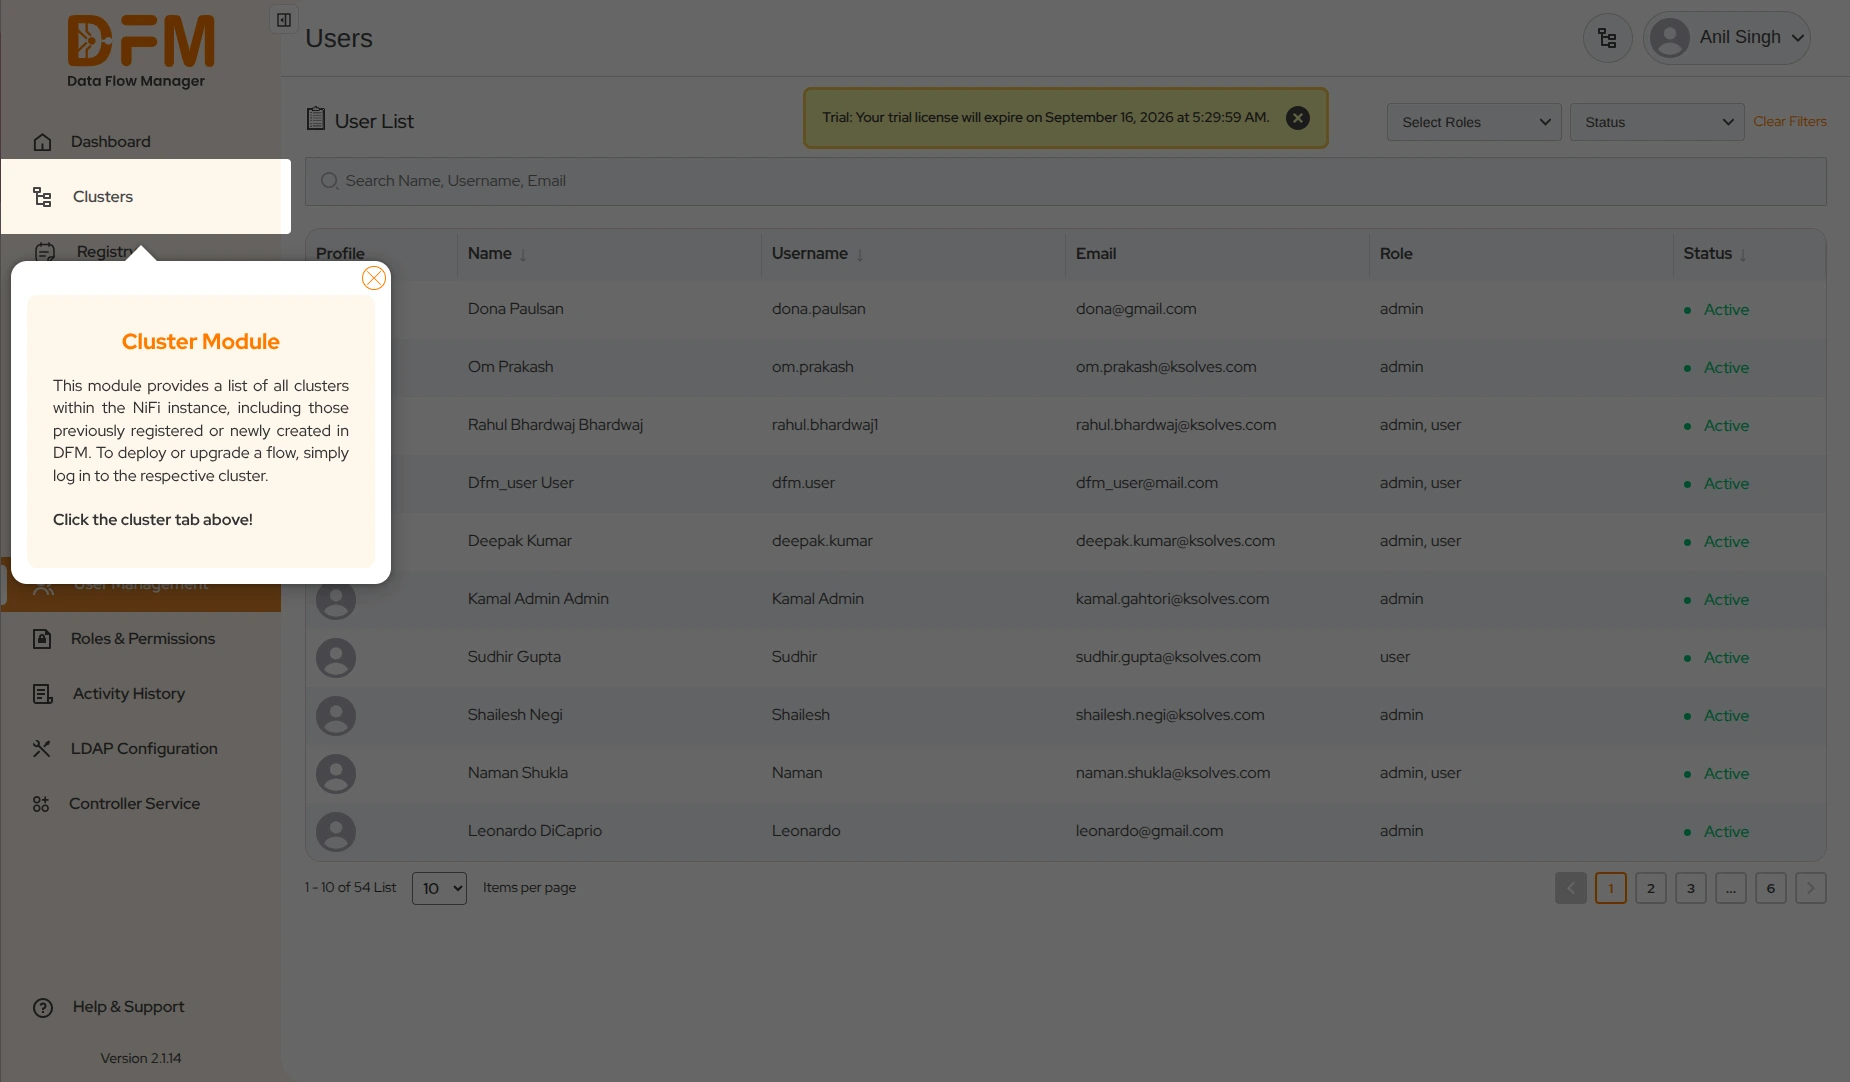
To start deploying or upgrading a flow, you first need to log in to a cluster. Follow the steps below:
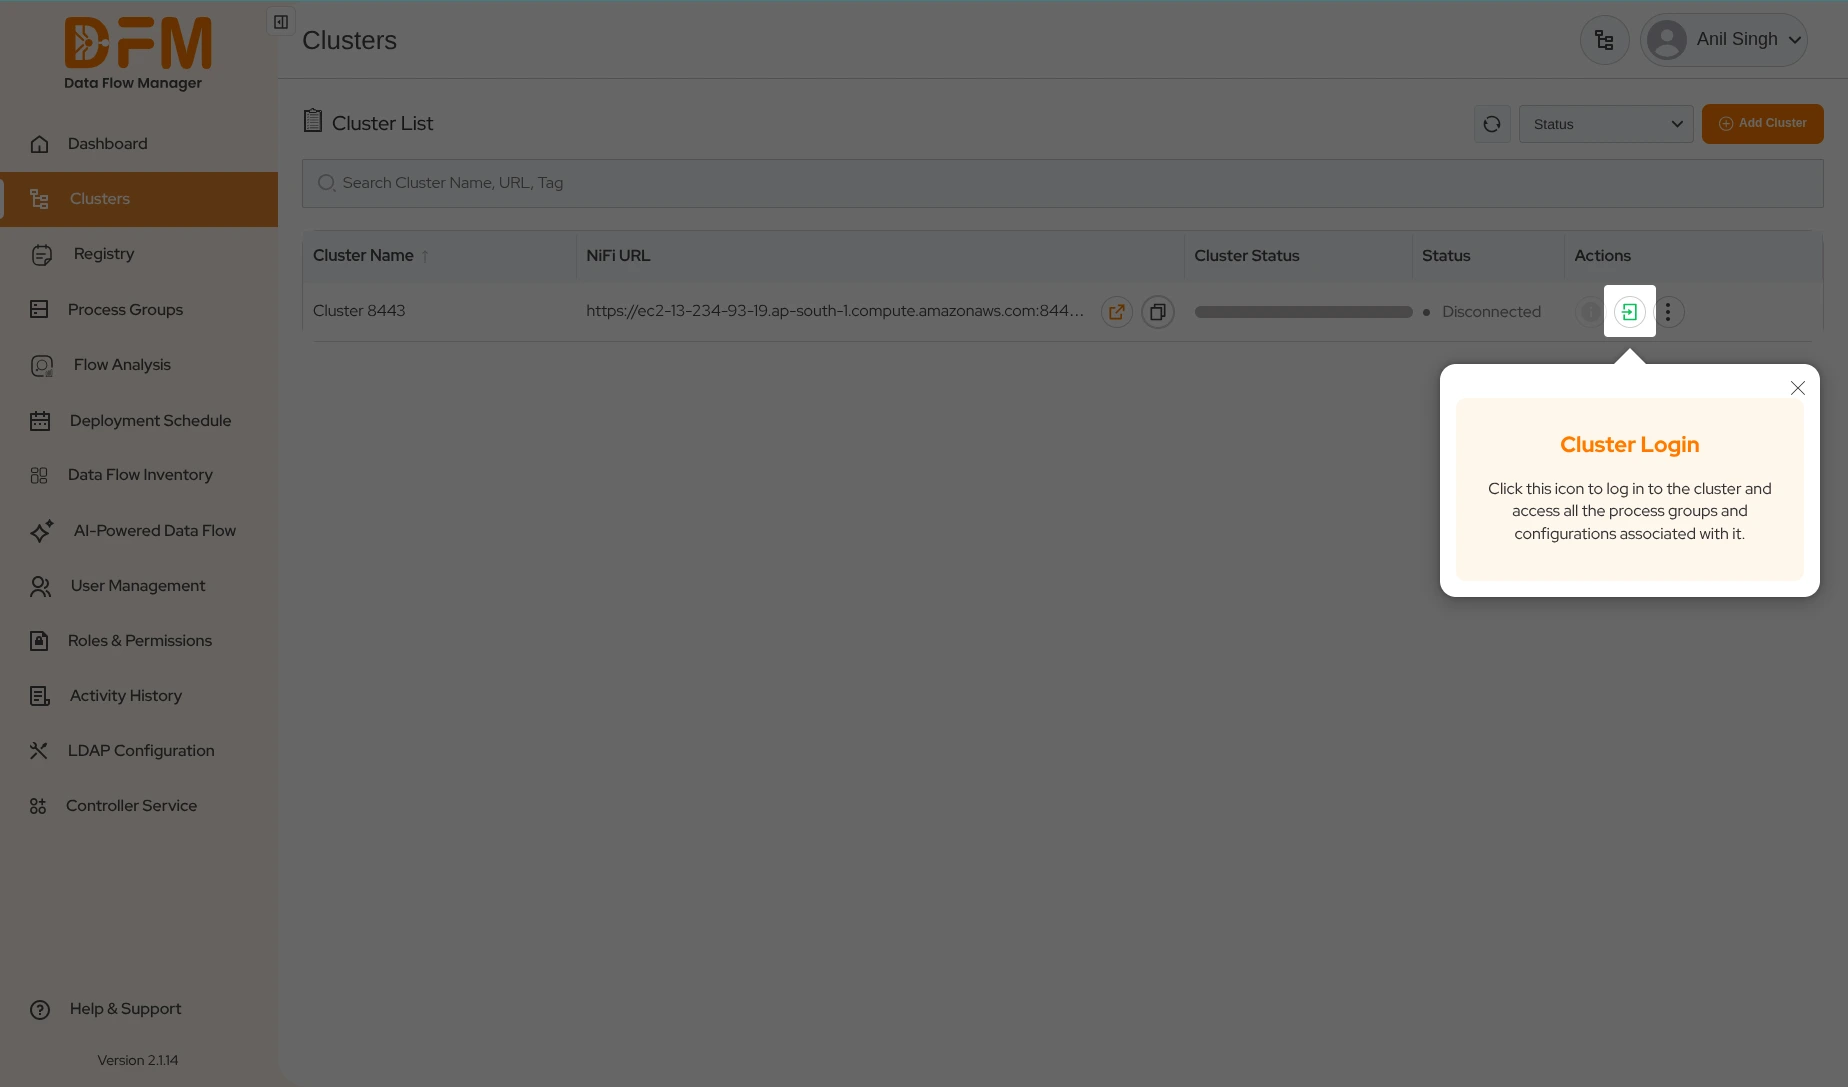
- Navigate to the Cluster module in DFM. Here, you will see a list of all clusters available in your NiFi instance, including both existing and newly created ones.
- A cluster has already been onboarded for you. To log in, click the green arrow icon on the right side of the cluster.
- Enter the NiFi credentials (username and password) provided in the email, and finally, click Submit.

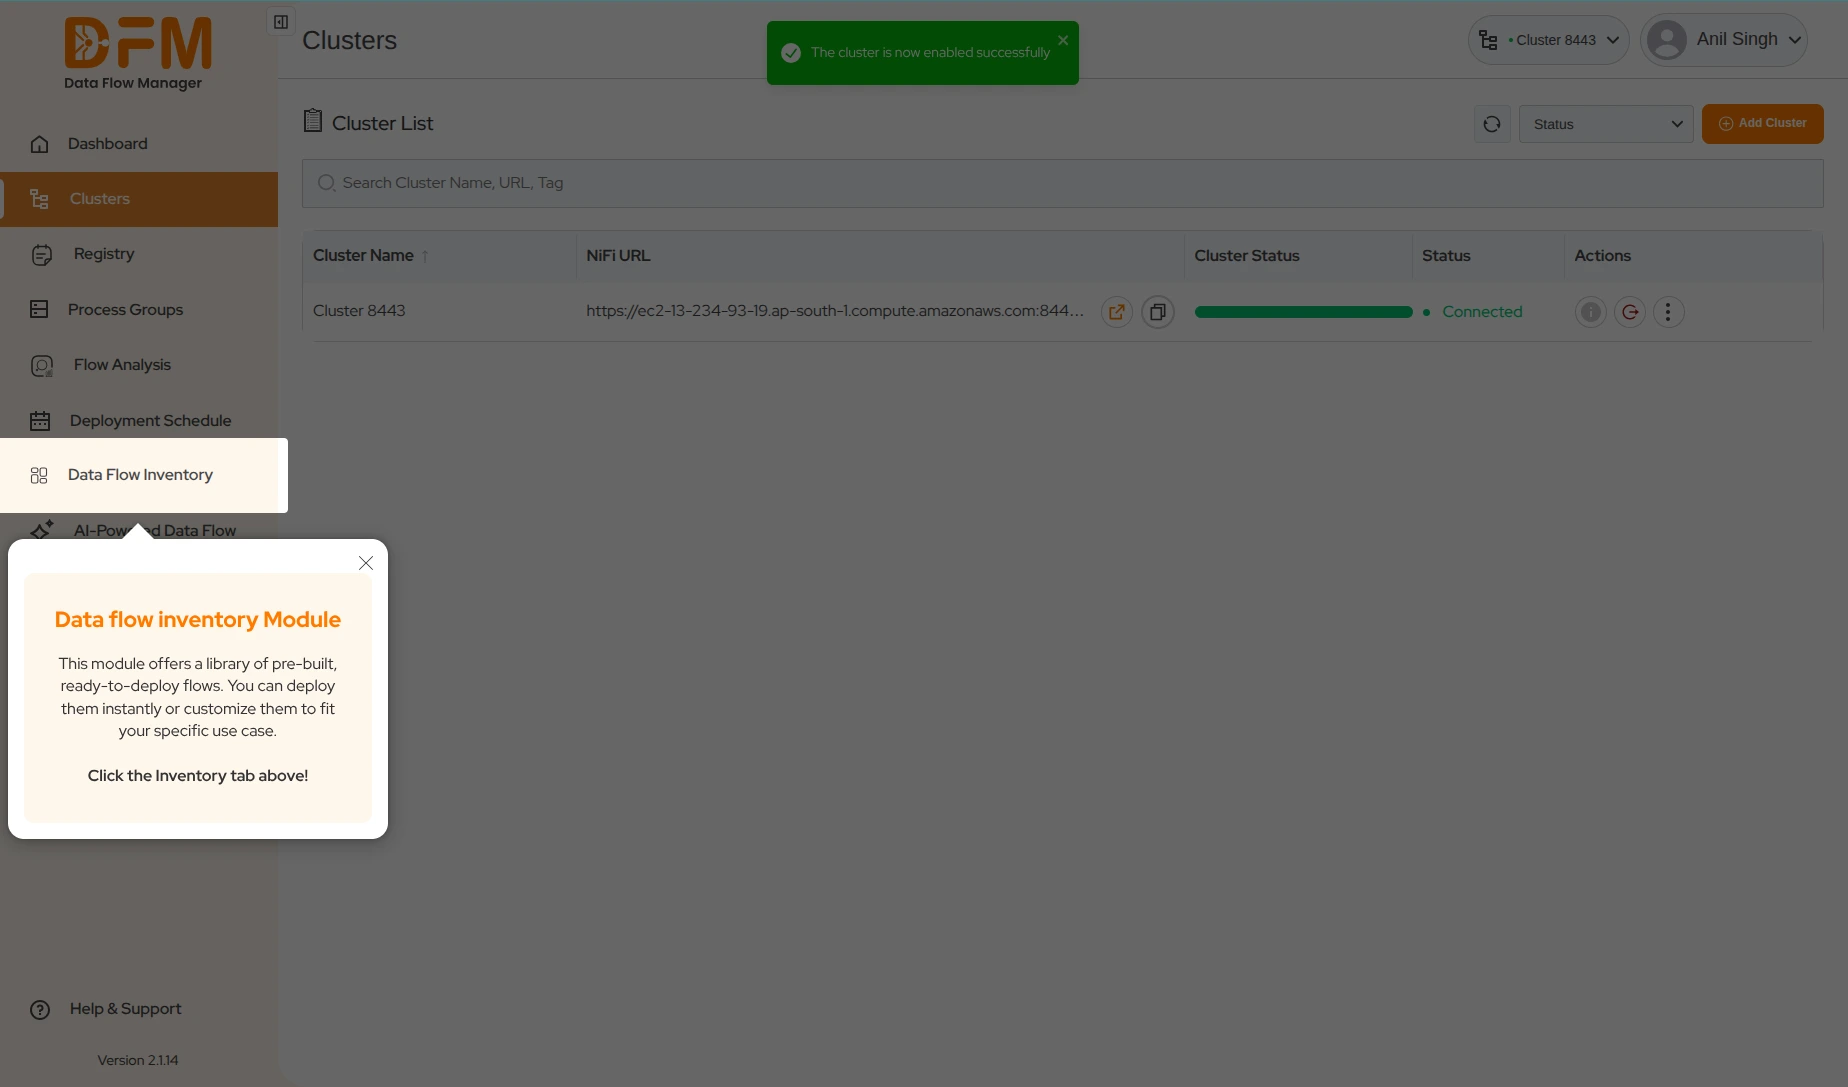
- You will be successfully logged in to the cluster. The cluster status will change to Connected, indicating you are ready to deploy or upgrade flows.
3. Data Flow Inventory
The Data Flow Inventory module offers a rich library of pre-built, readyto-deploy flows for a variety of use cases. You can quickly select a flow that fits your requirements and deploy it instantly. Follow these steps:
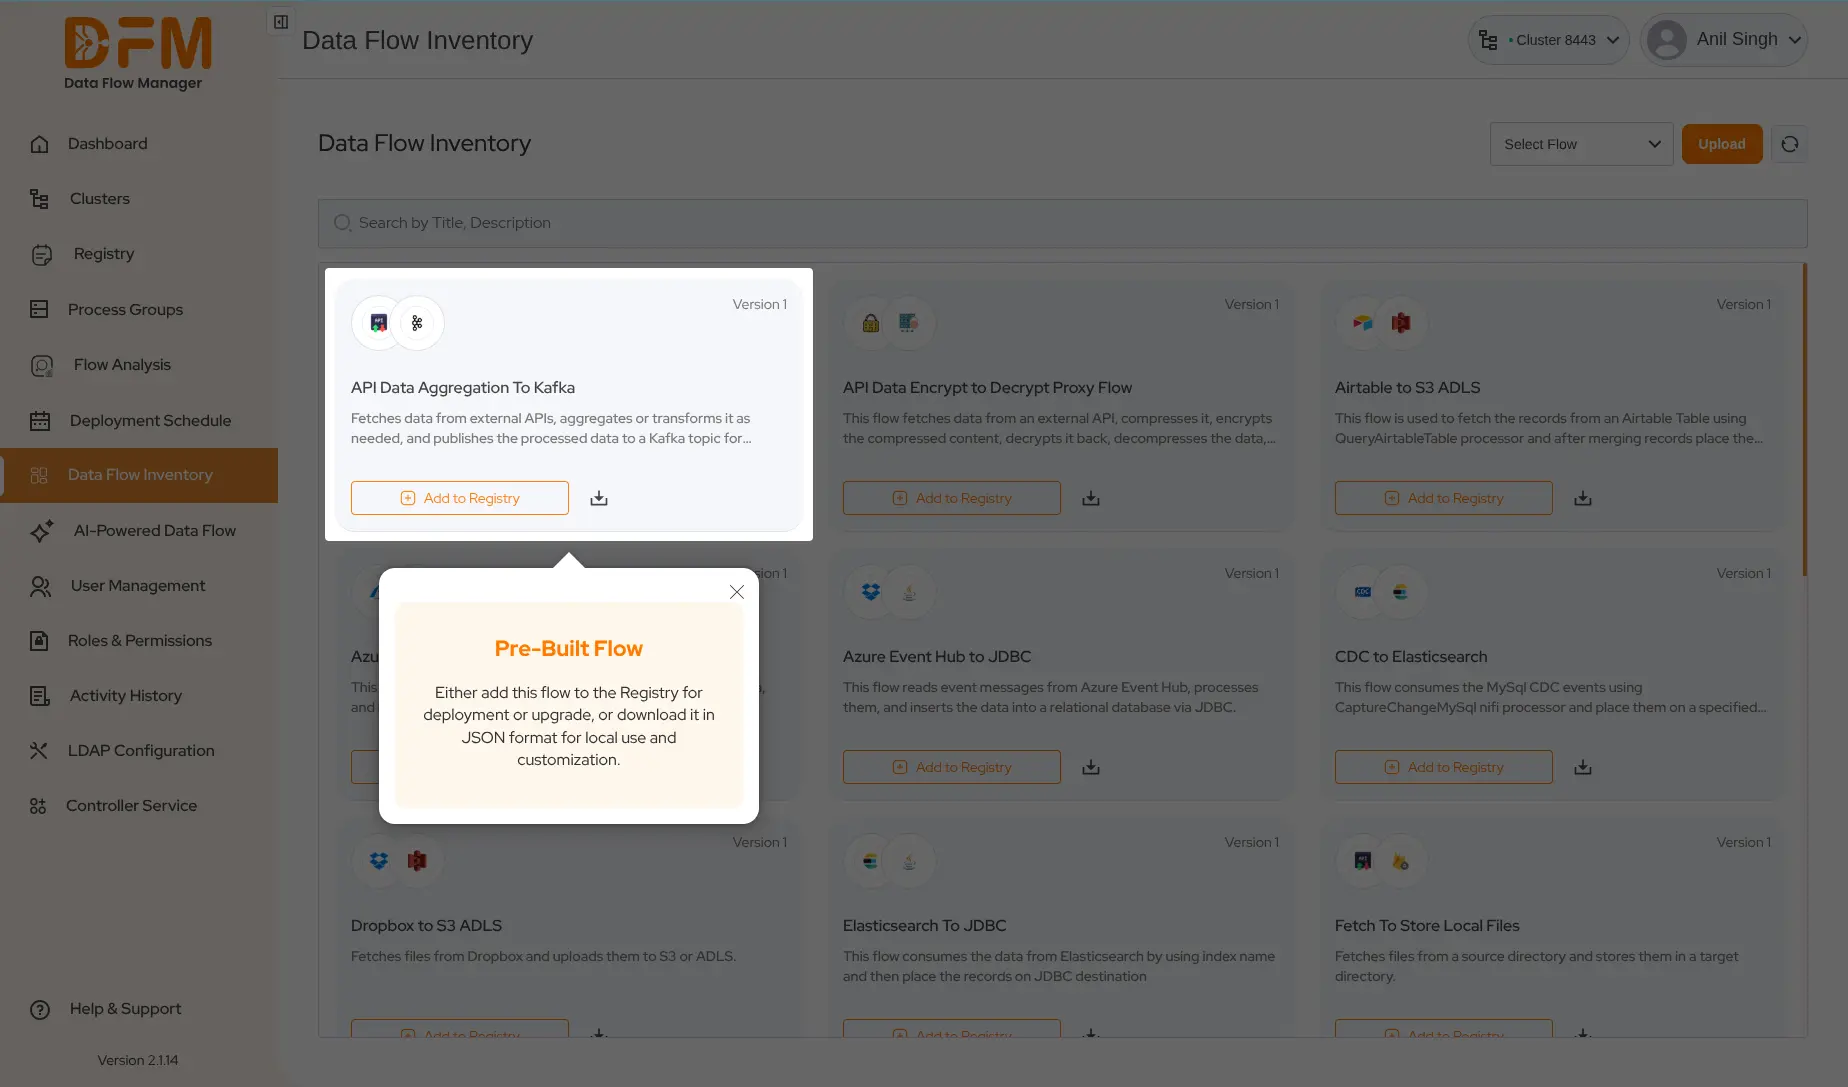
- Navigate to the Data Flow Inventory module to browse all available flows.
-
Select a flow of your choice. You will see two options:
Add to Registry or Download. - Click Add to Registry.
- Fill in the flow details - Bucket, Flow Name (for Registry), Process Group Name (for DFM), and description.
- Click the Save button to add the flow to the Registry.
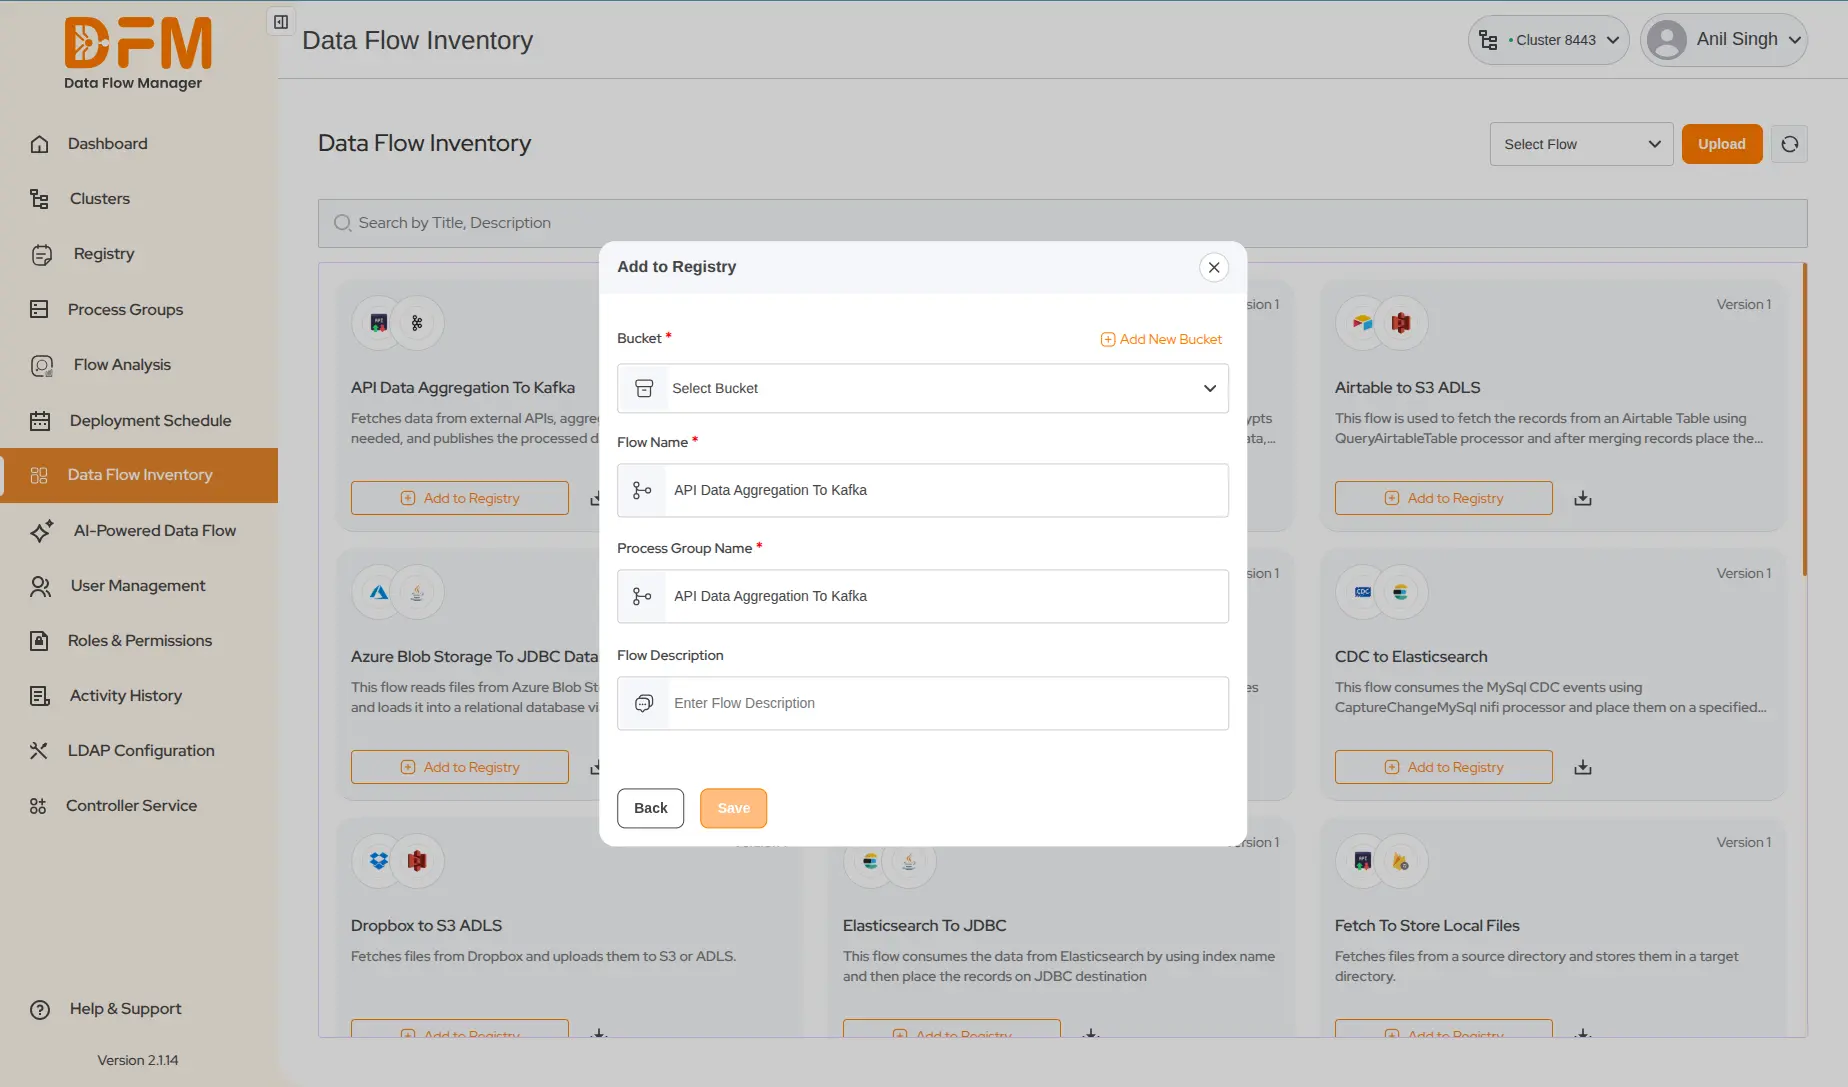
The selected flow will be successfully added to the Registry. You can access the flow under the Process Group module.
4. Deploy The Flow
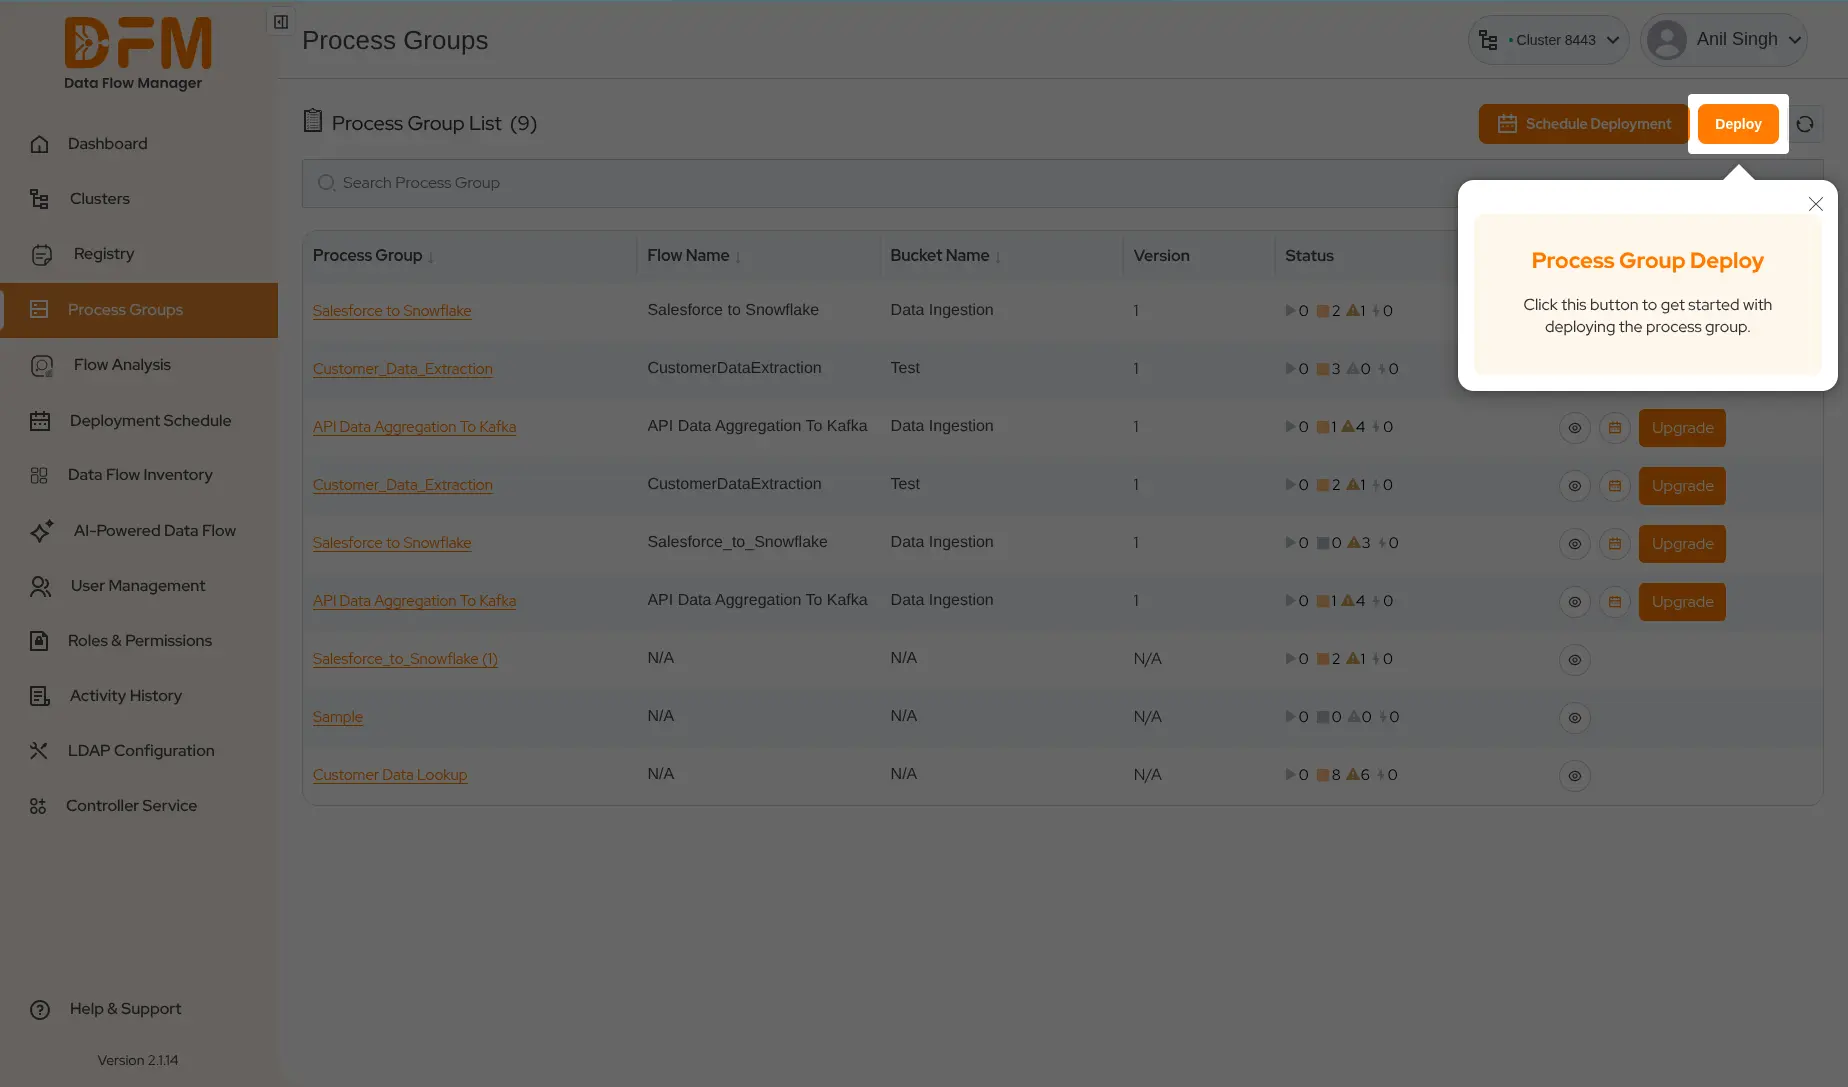
The Process Group module displays all flows available in the currently logged-in cluster. To deploy a flow you recently added to the Registry, follow these steps:
- Go to the Process Group module to view all available flows
- From the top right corner, click on the Deploy button.
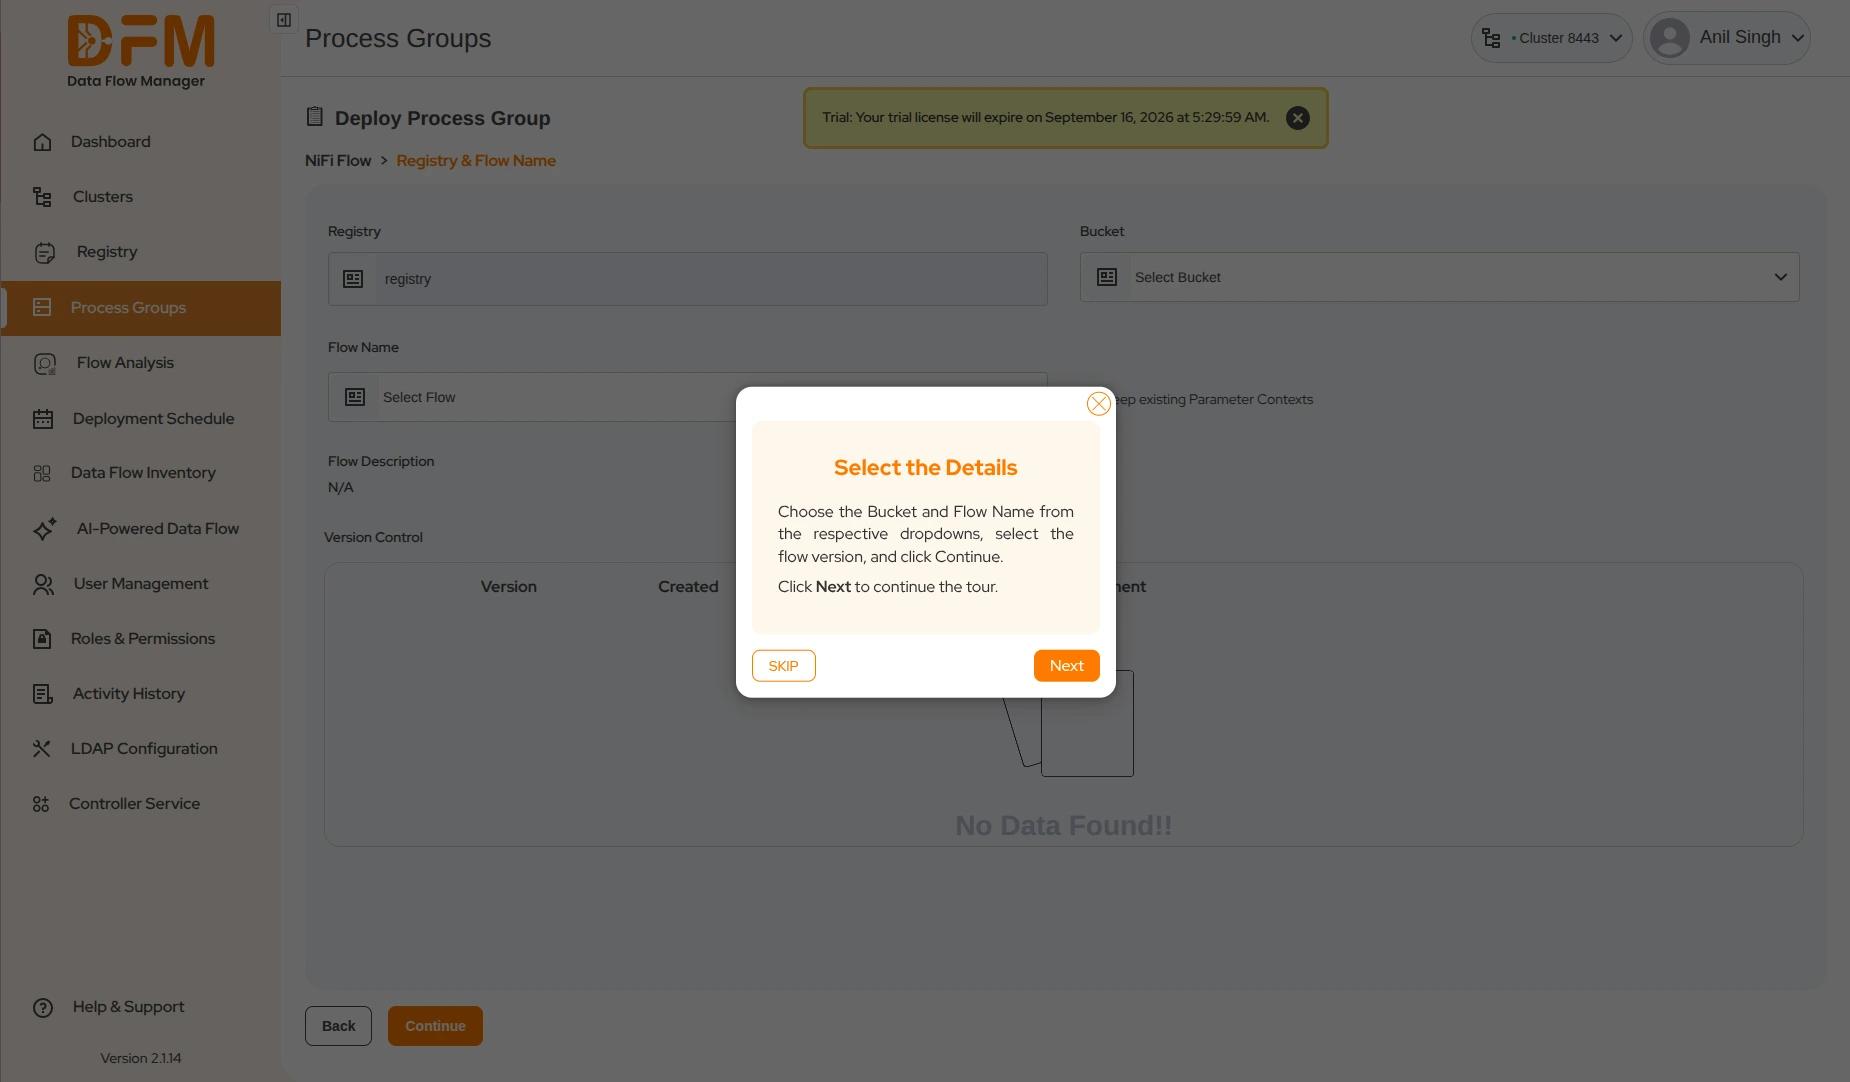
- Choose the Bucket and Flow Name (as saved while adding the flow to the Registry) and select the flow version, then click Continue.
-
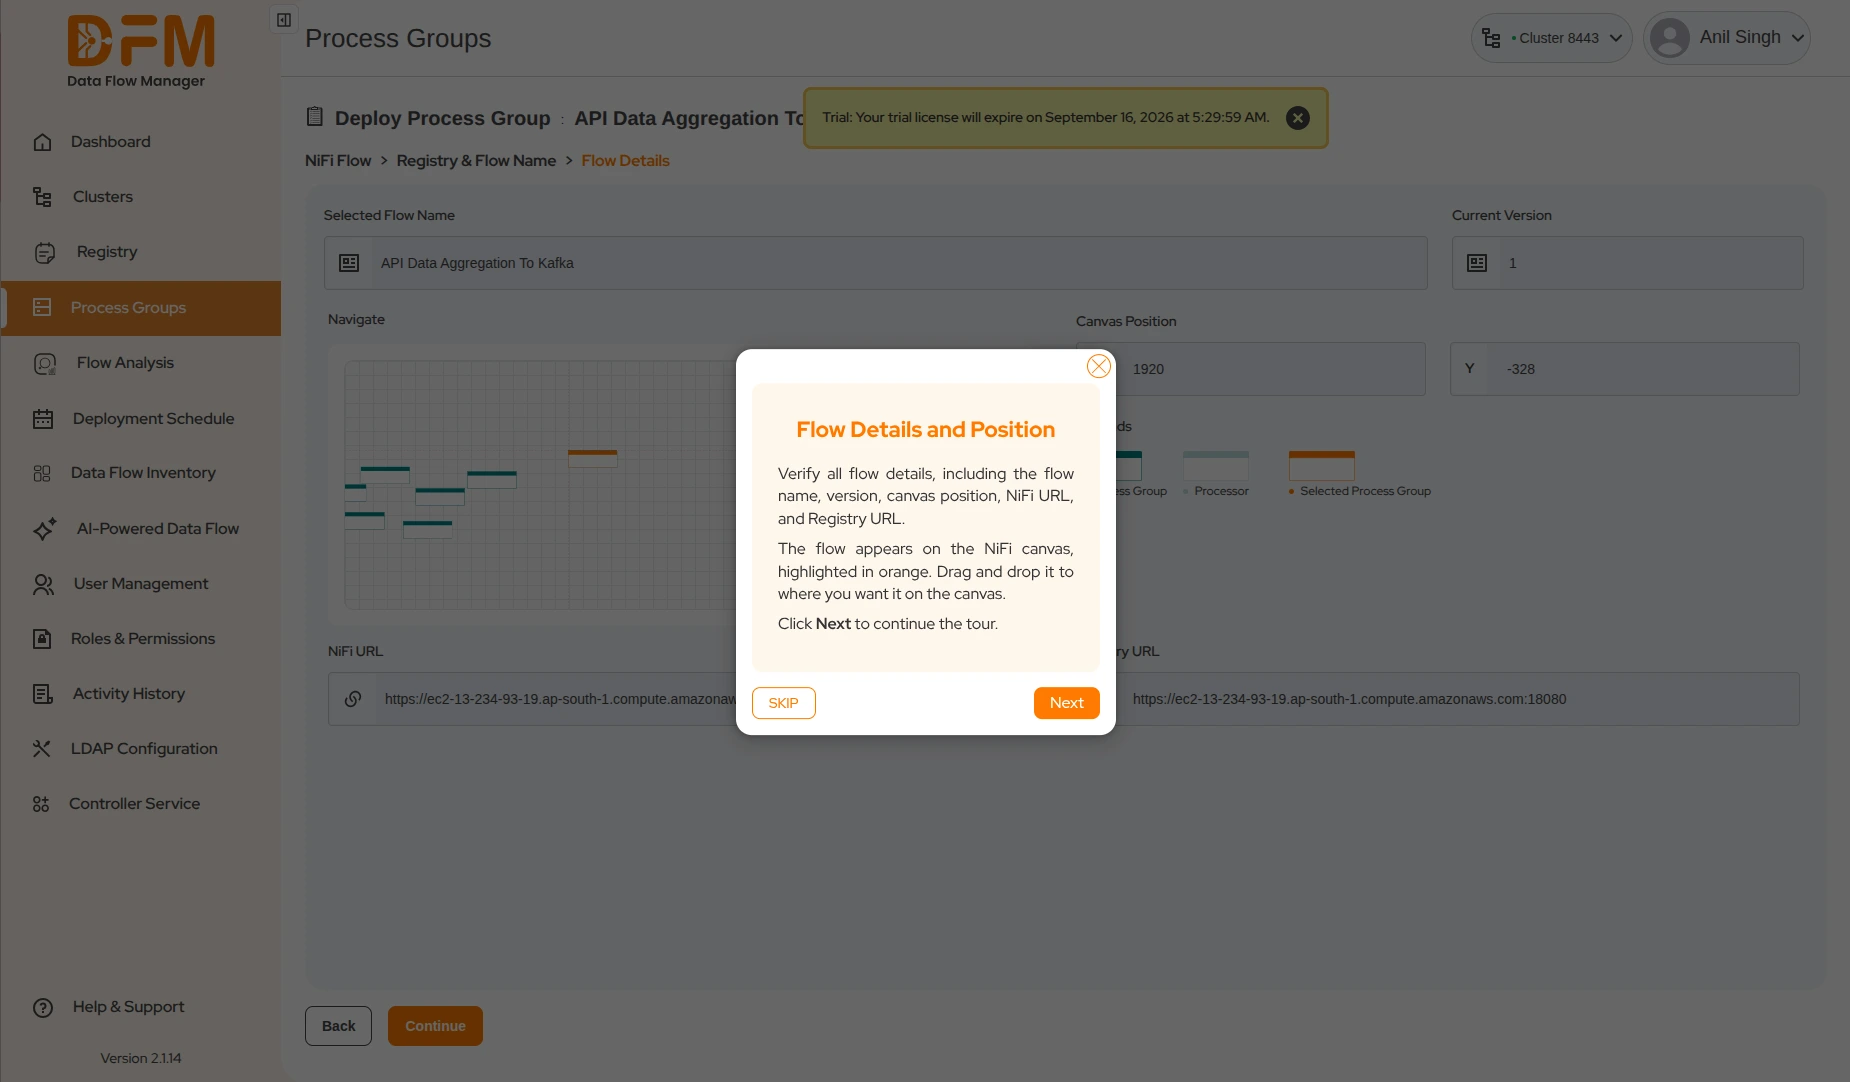
Set the canvas position where your flow will be displayed on
the NiFi UI. Visual indicators to identify your current process group:
- Blue Shade: A process group (flow) that is highlighted with a blue shade indicates that it is currently active or selected.
- Light Shade: A processor with a light shade represents one that is not selected or not actively being edited.
- Orange Shade: A process group highlighted in orange implies that it is being deployed.
- Drag your process group left, right, up, or down to set its position and click Continue.
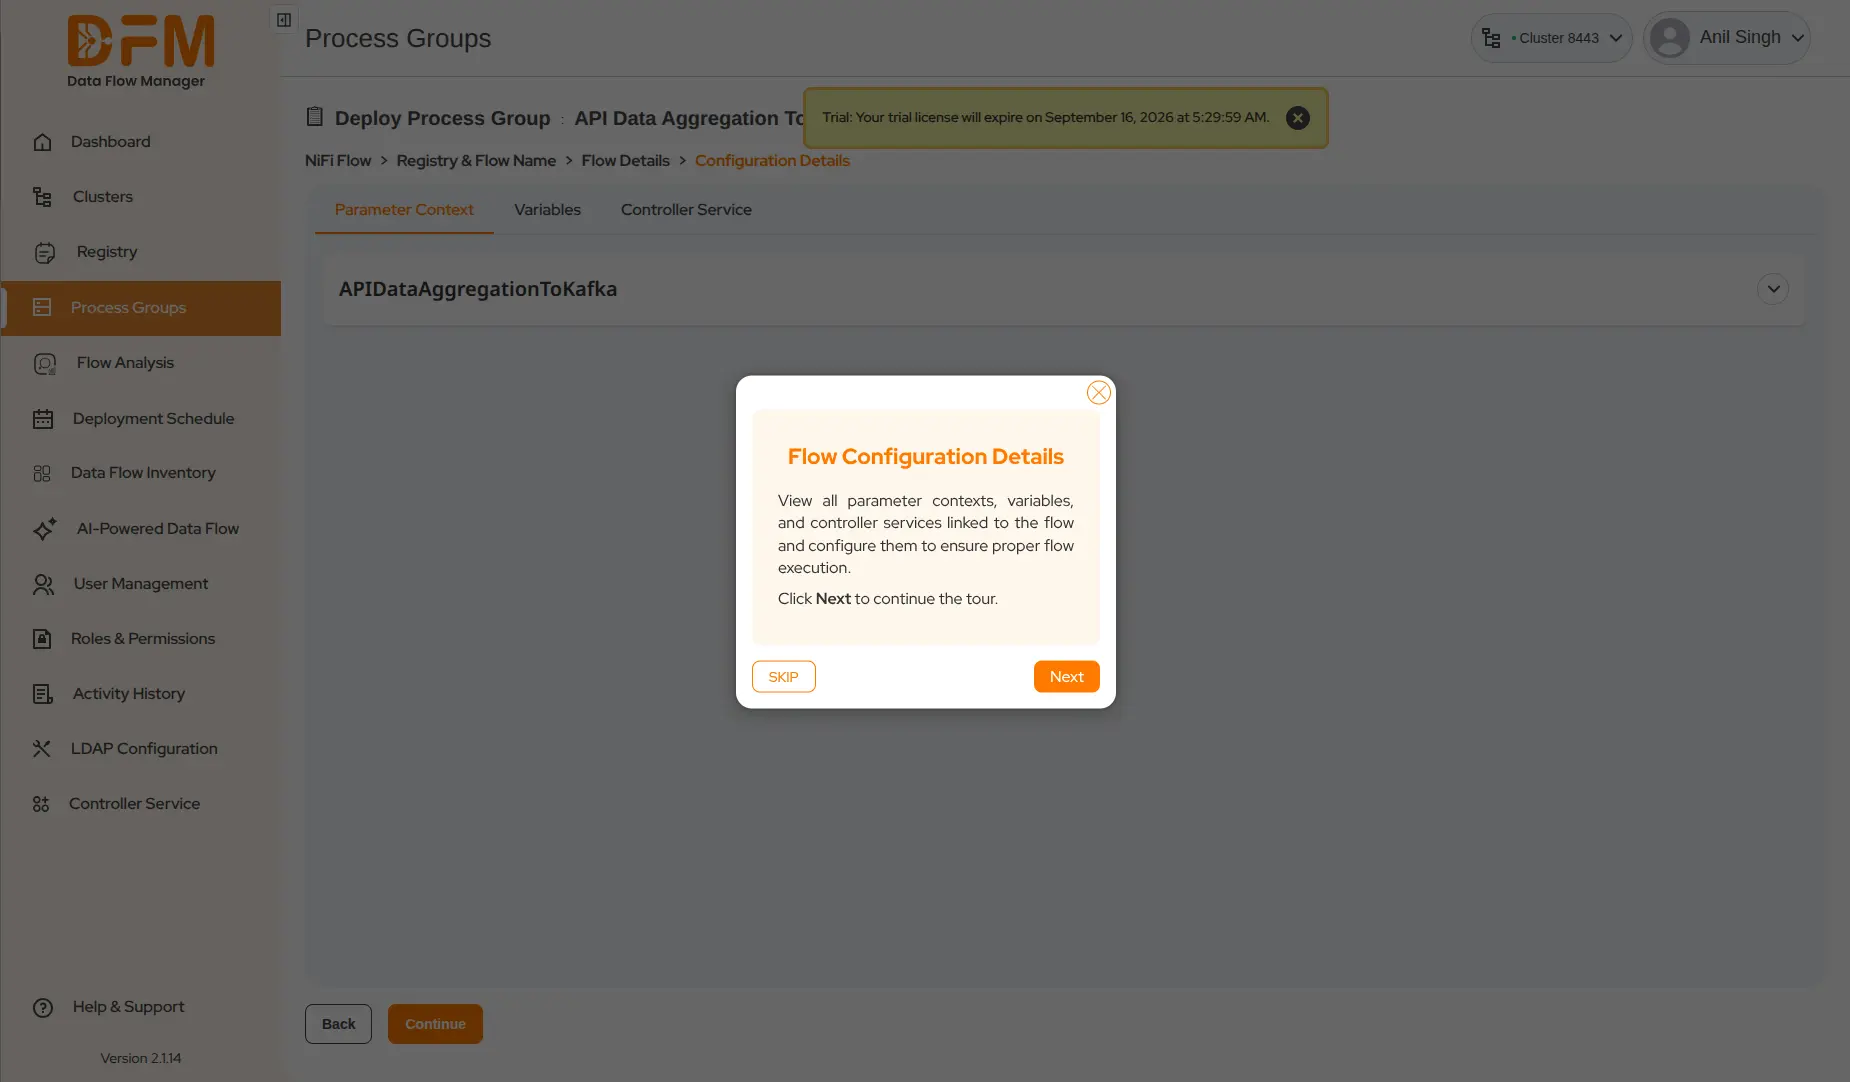
- View all parameter context, variables, and controller services linked to the flow. Edit them with the necessary configurations.
- If needed, you can edit the properties of the controller services through the settings option and continue.
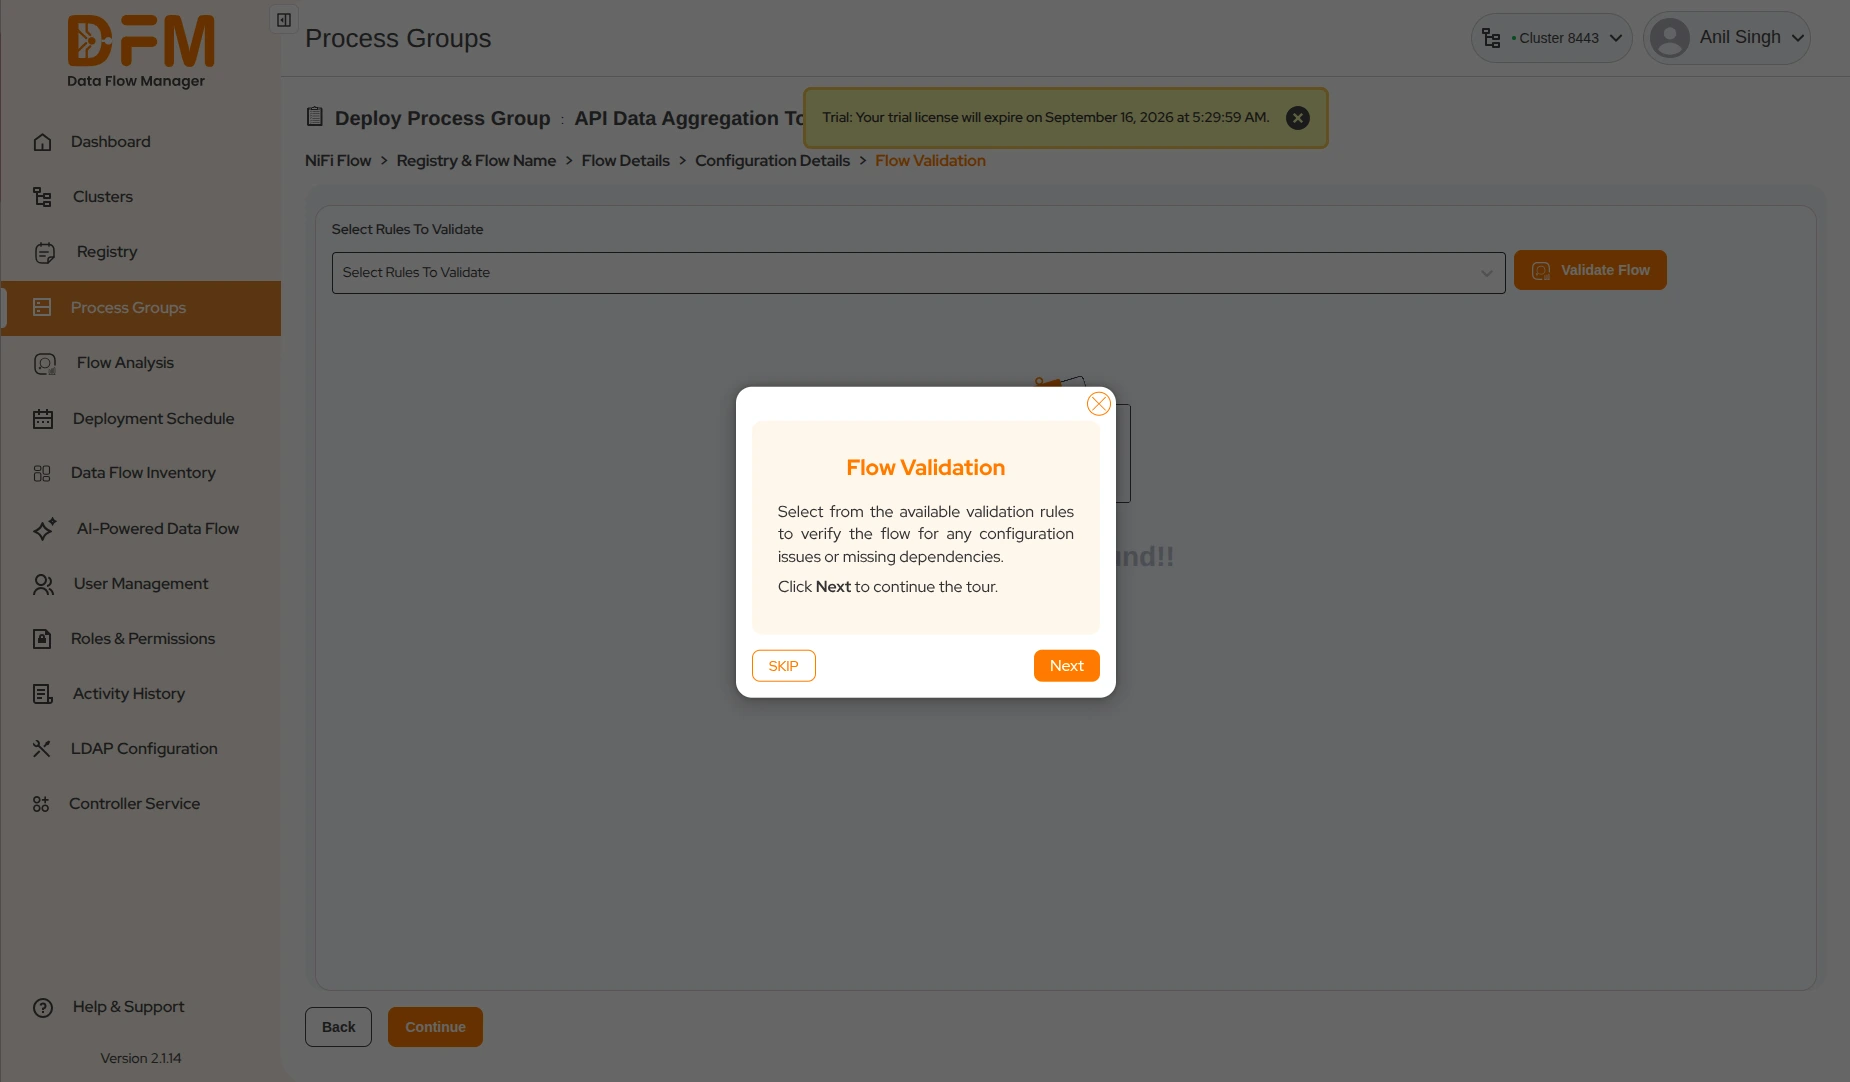
- Select the validation rules from the dropdown and click Validate Flow. This will check the flow for any configuration errors or missing components.
- If everything seems good, click Continue.
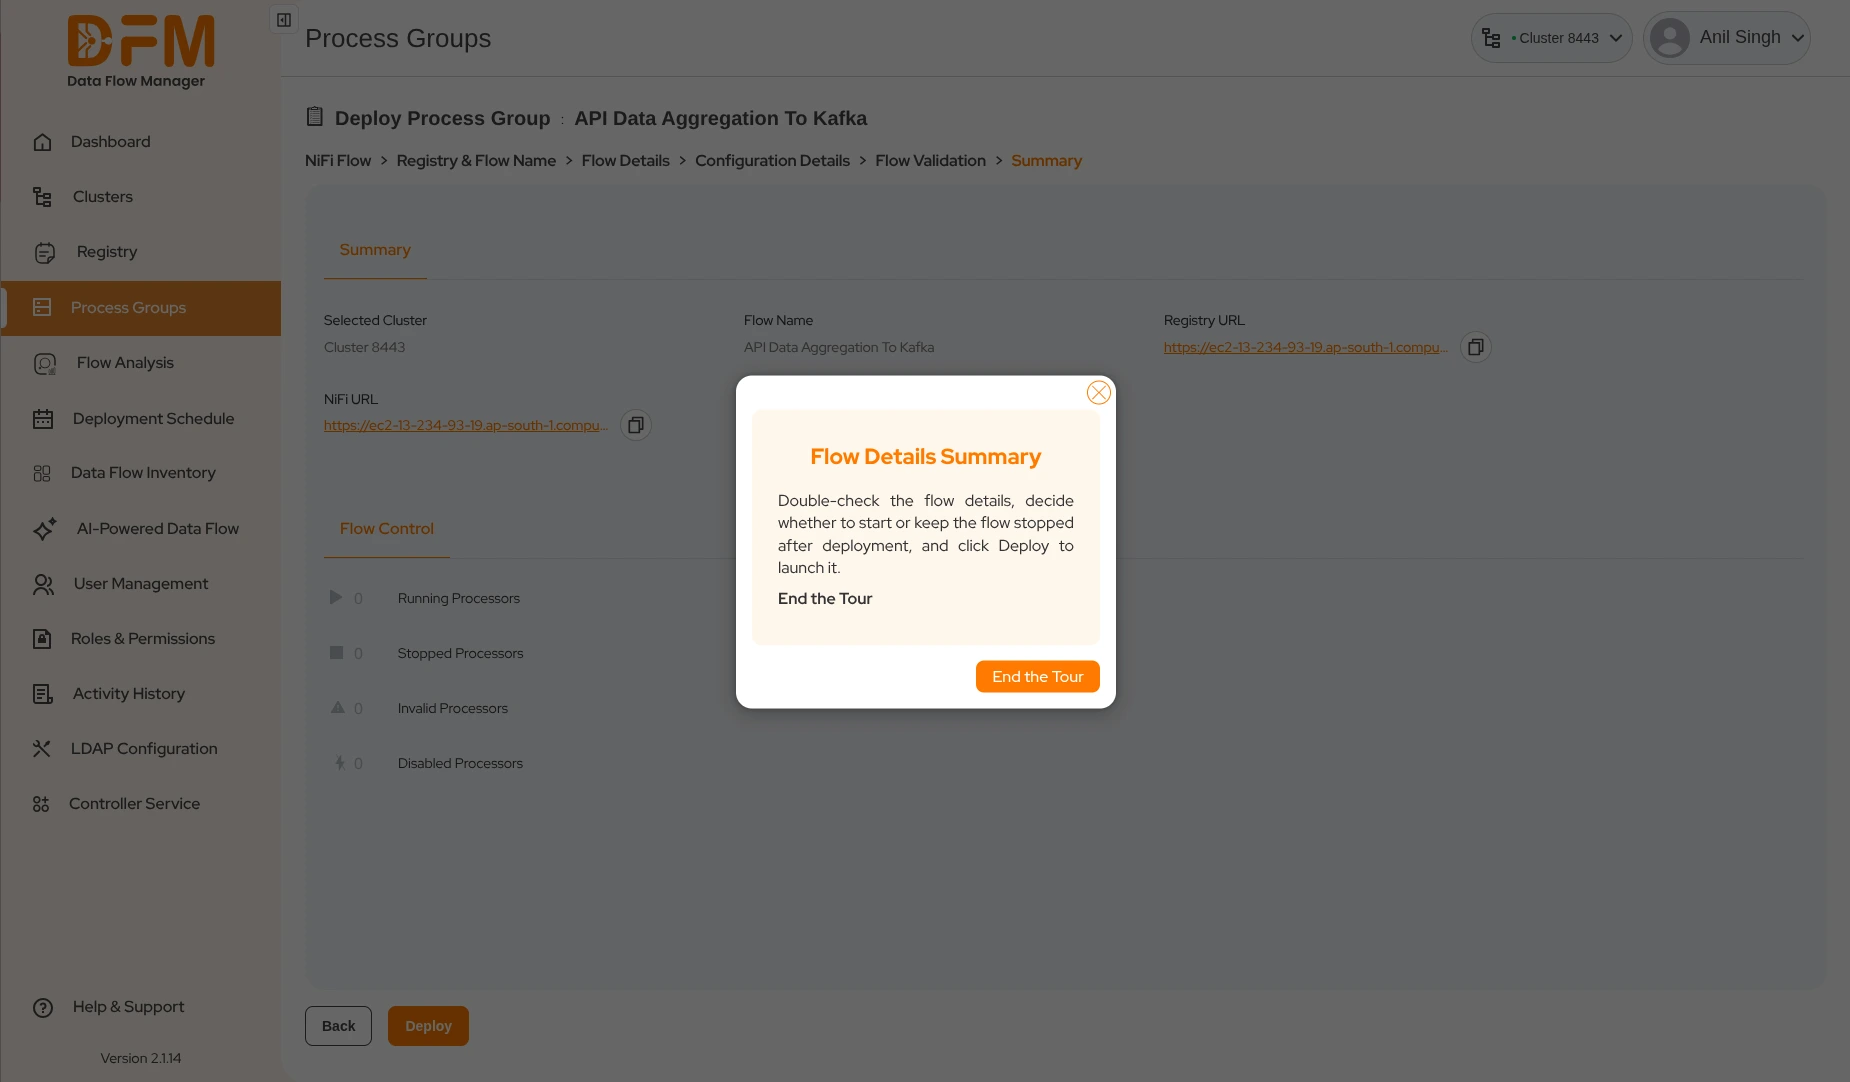
- Finally, you will be redirected to the summary page. Verify the details of the flow. Choose whether you want the flow to start or stop after deployment and click Deploy.
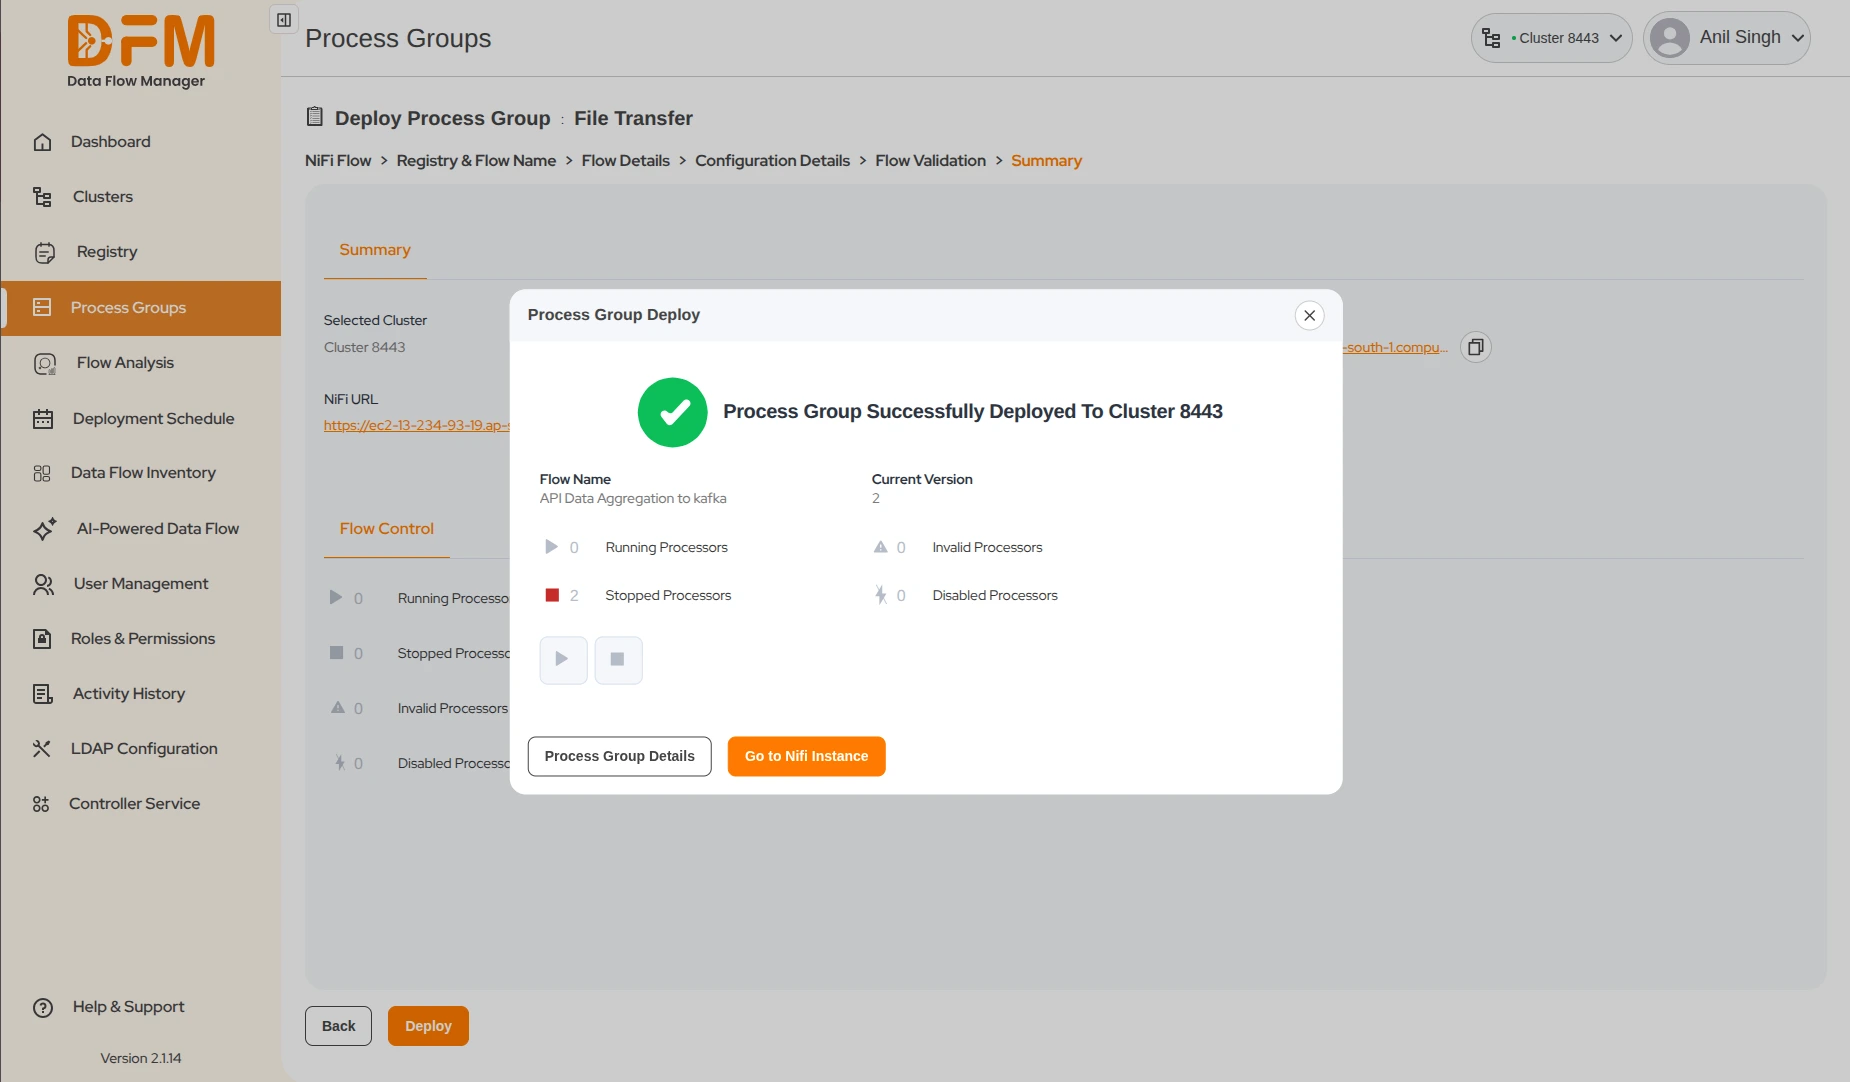
- You’ve successfully deployed your first flow. You get a confirmation message about the successful deployment.
You’ve completed the basic tour! To unlock all features and get the most out of DFM, consider upgrading to a full plan.
Contact our support team dfmsales@ksolves.com