Overview
The Roles and Permissions module allows administrators to create and manage user roles within the Data Flow Manager, assigning specific permissions such as read-only or write access to control user actions across menus, features, and clusters. This ensures secure, role-based access management by defining what each user can view or modify, maintaining proper authorisation and governance throughout the platform.
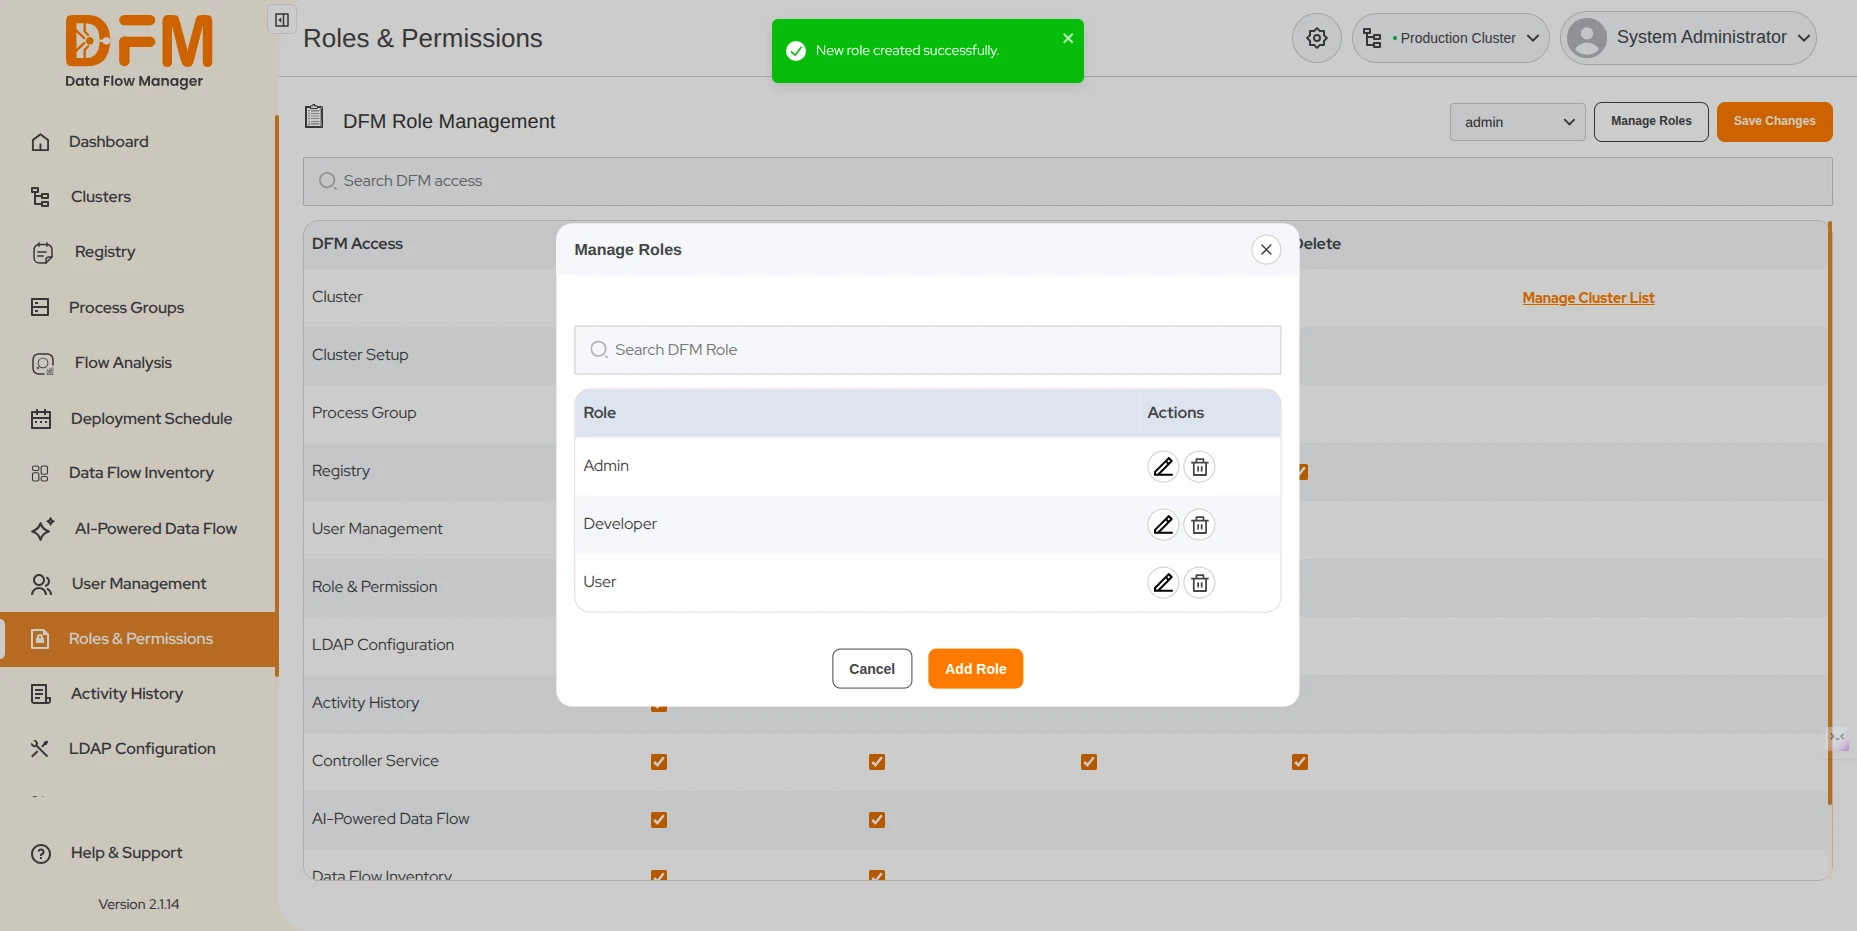
1. Add a new user role
To add a new user role:
- Go to Manage Roles present in the top right corner of the Roles & Permissions tab.
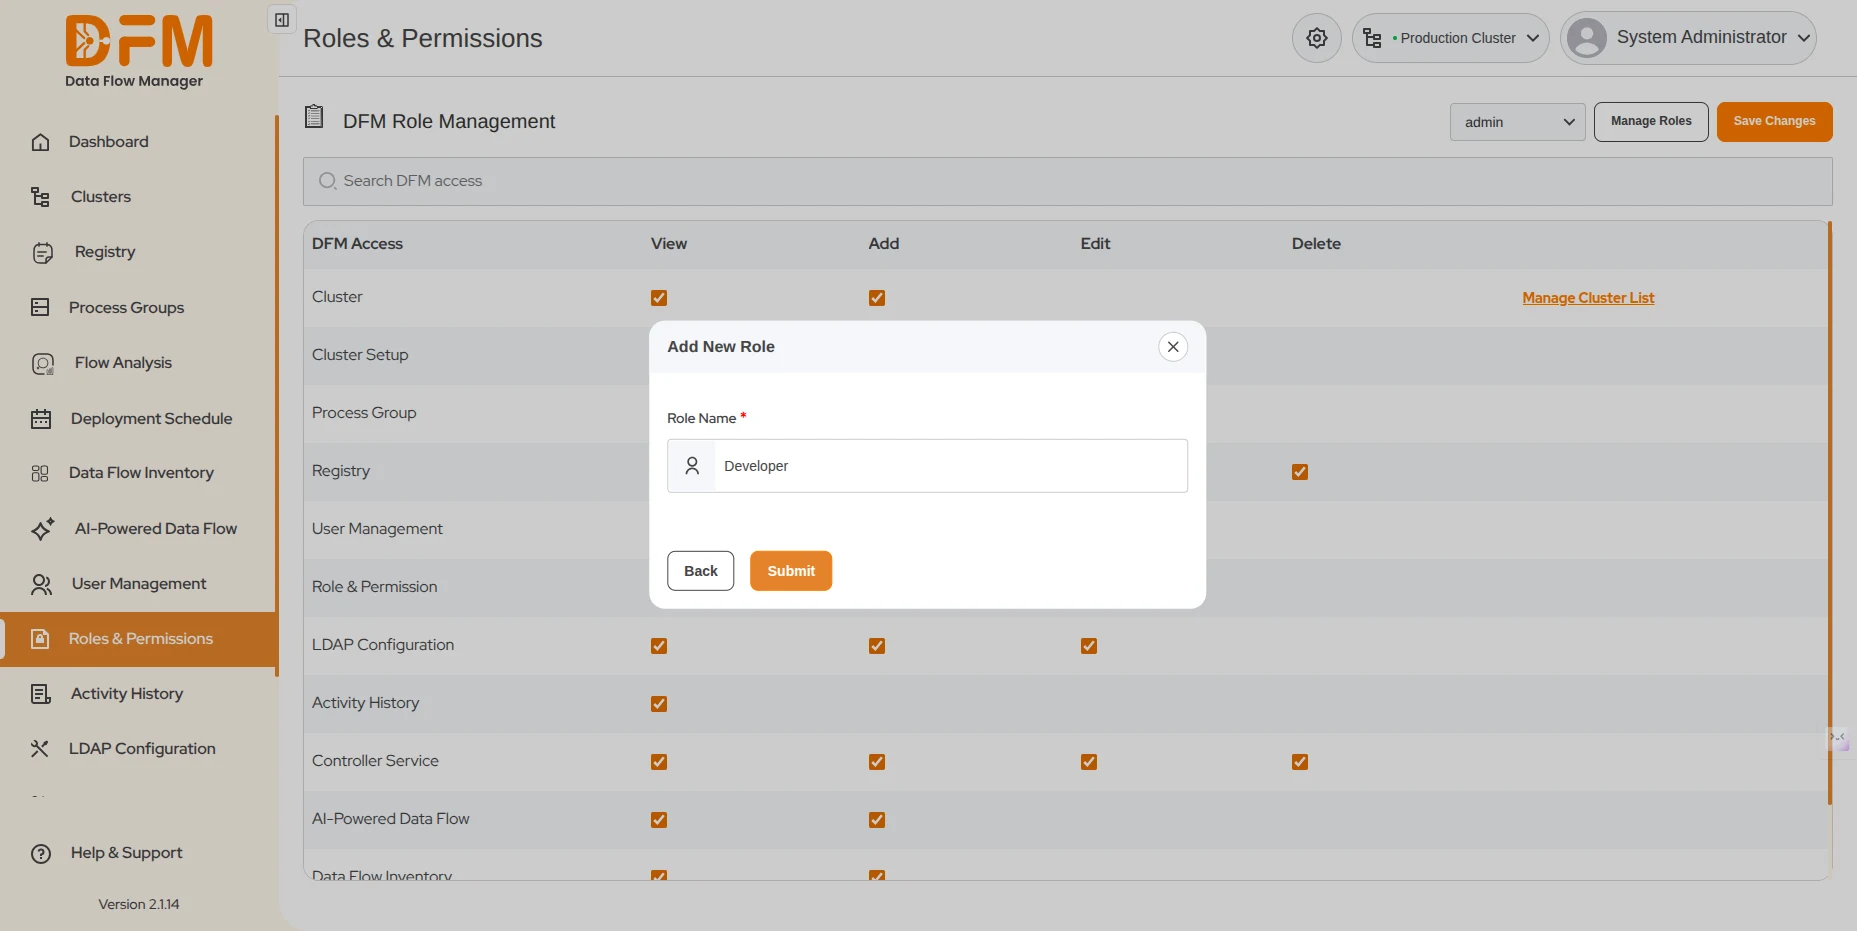
- Click the Add Role button.
- Enter the role name and click Submit.
- The new role will be added to the list.

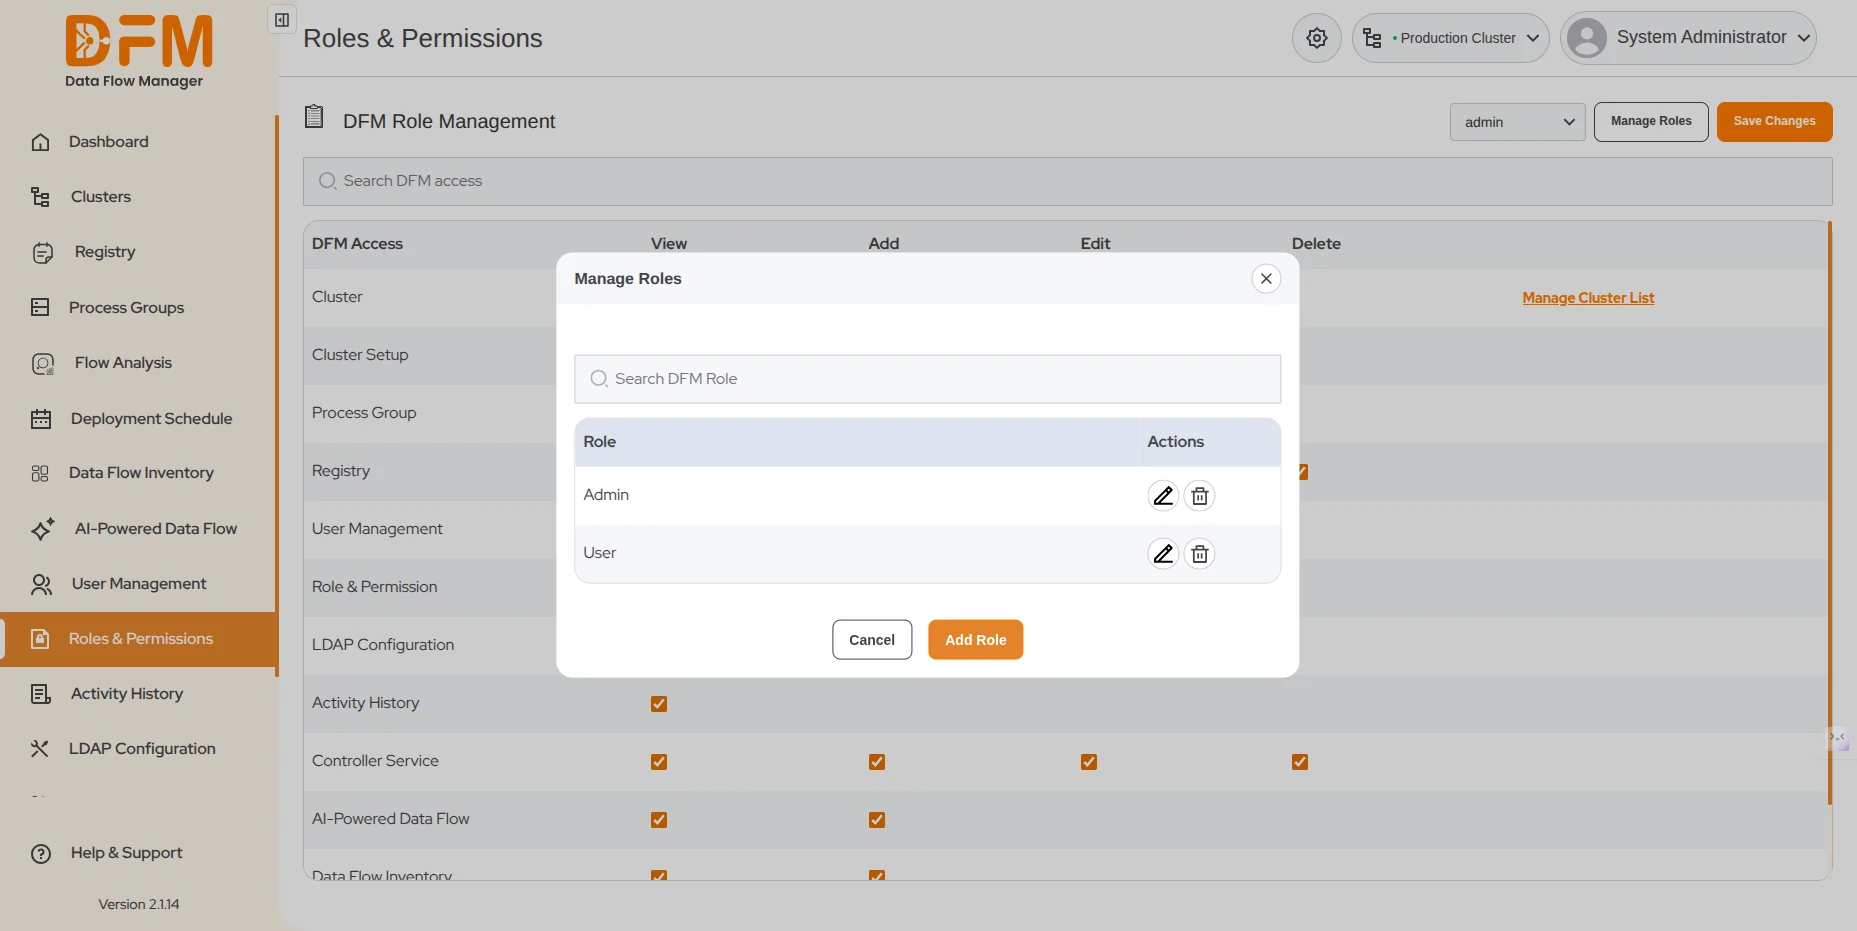
2. Edit a user role
You can edit the name of the user role. To do this:
- Go to Manage Role under the Roles & Permissions tab.
- Click on the edit icon for the role you want to edit.
- Change the role name and Submit. You will receive a message indicating that the role has been edited successfully.

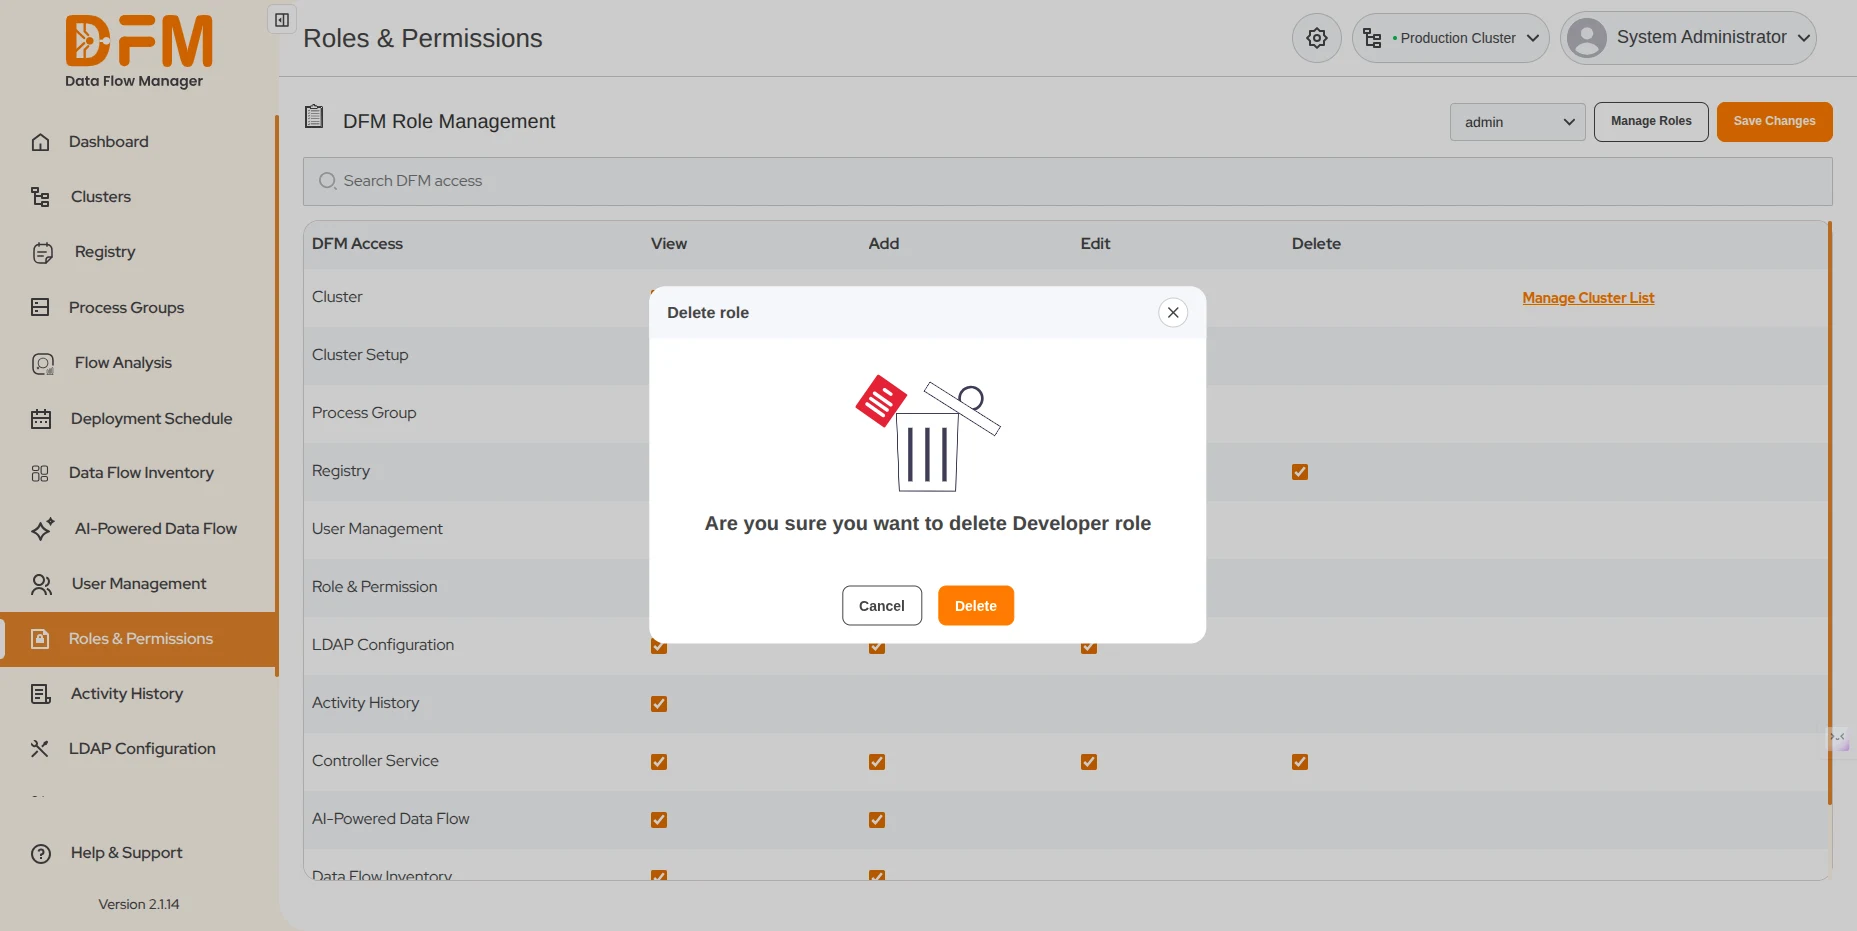
3. Delete a user role
To delete a user role:
- Navigate to Manage Role under the Roles & Permissions tab.
- Click on the bin icon to delete the desired role.
- A pop appears to confirm whether you want to delete the role or not. Click Delete to delete the user role. A confirmation message appears conveying that the role has been edited successfully.

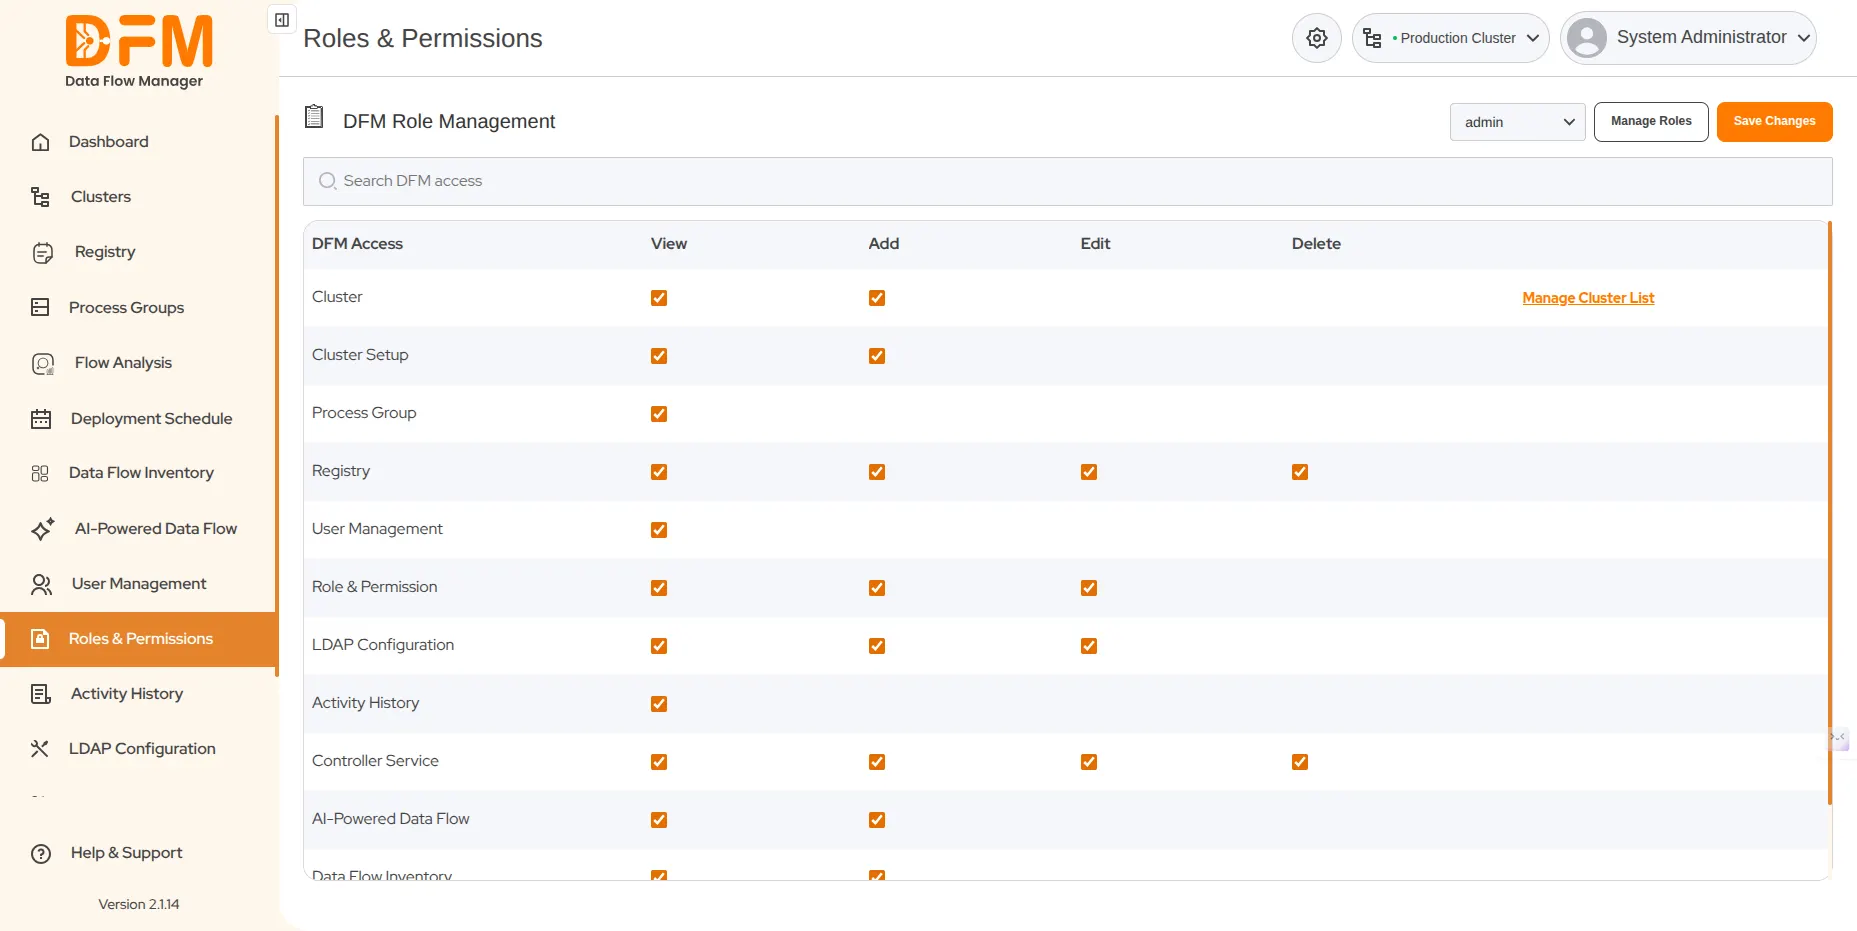
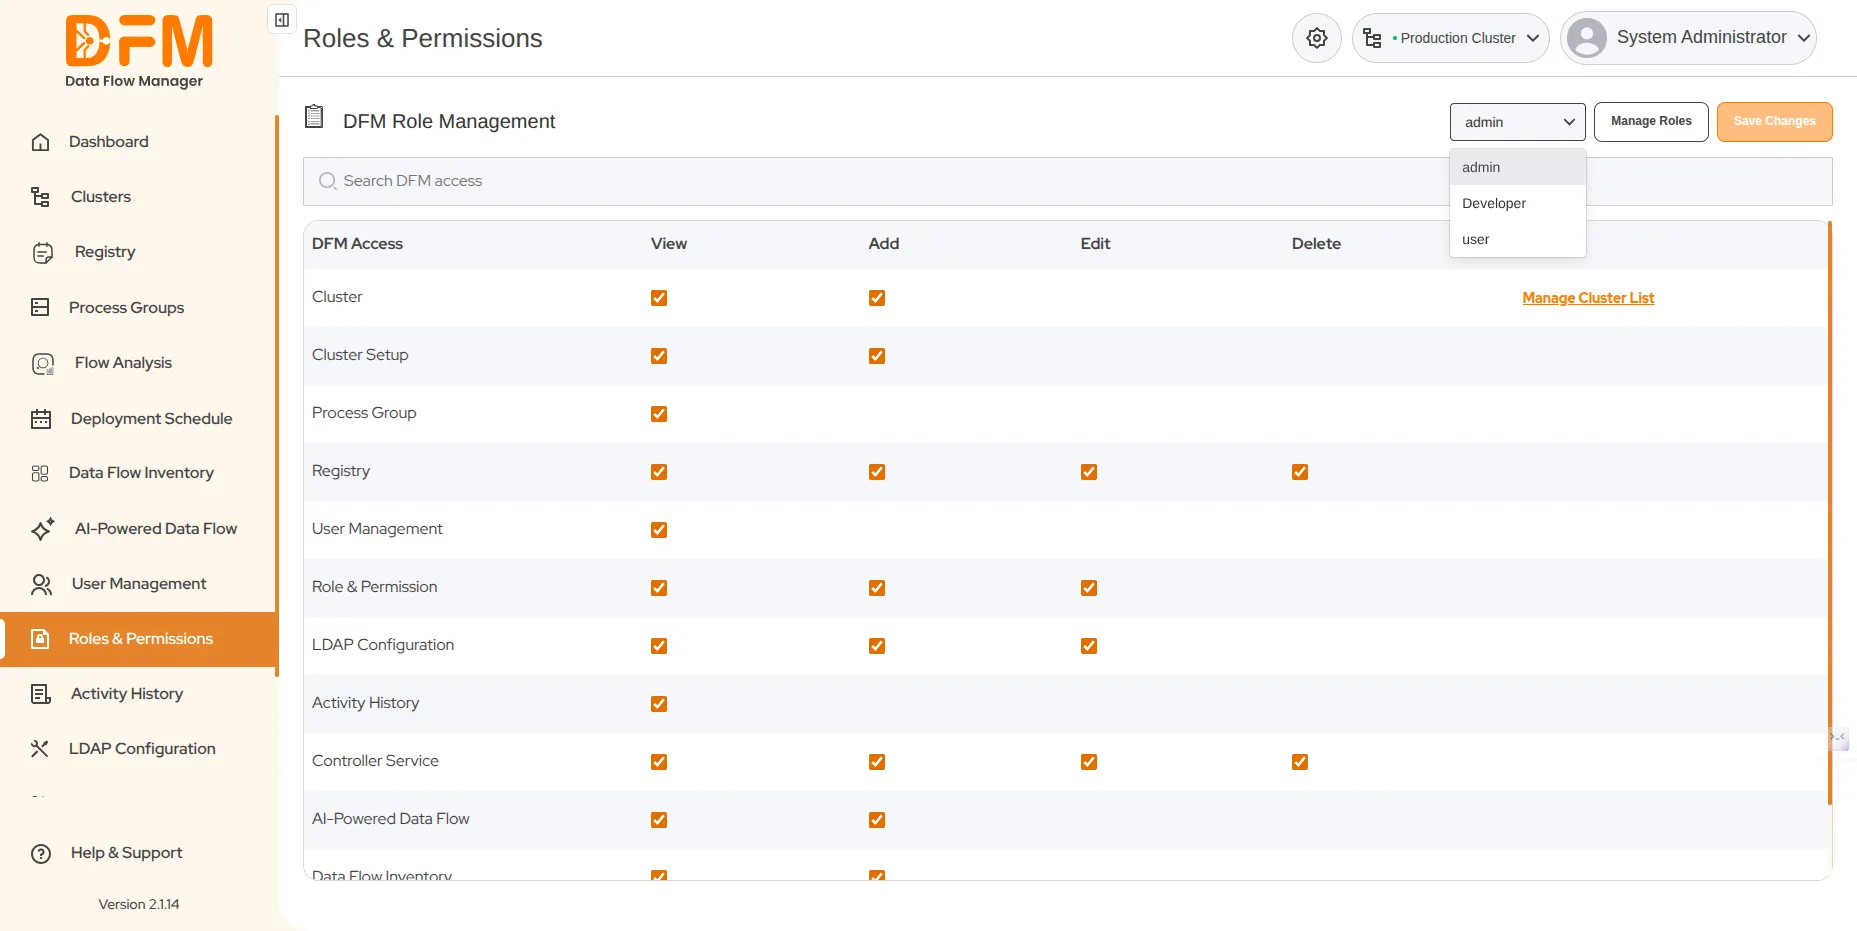
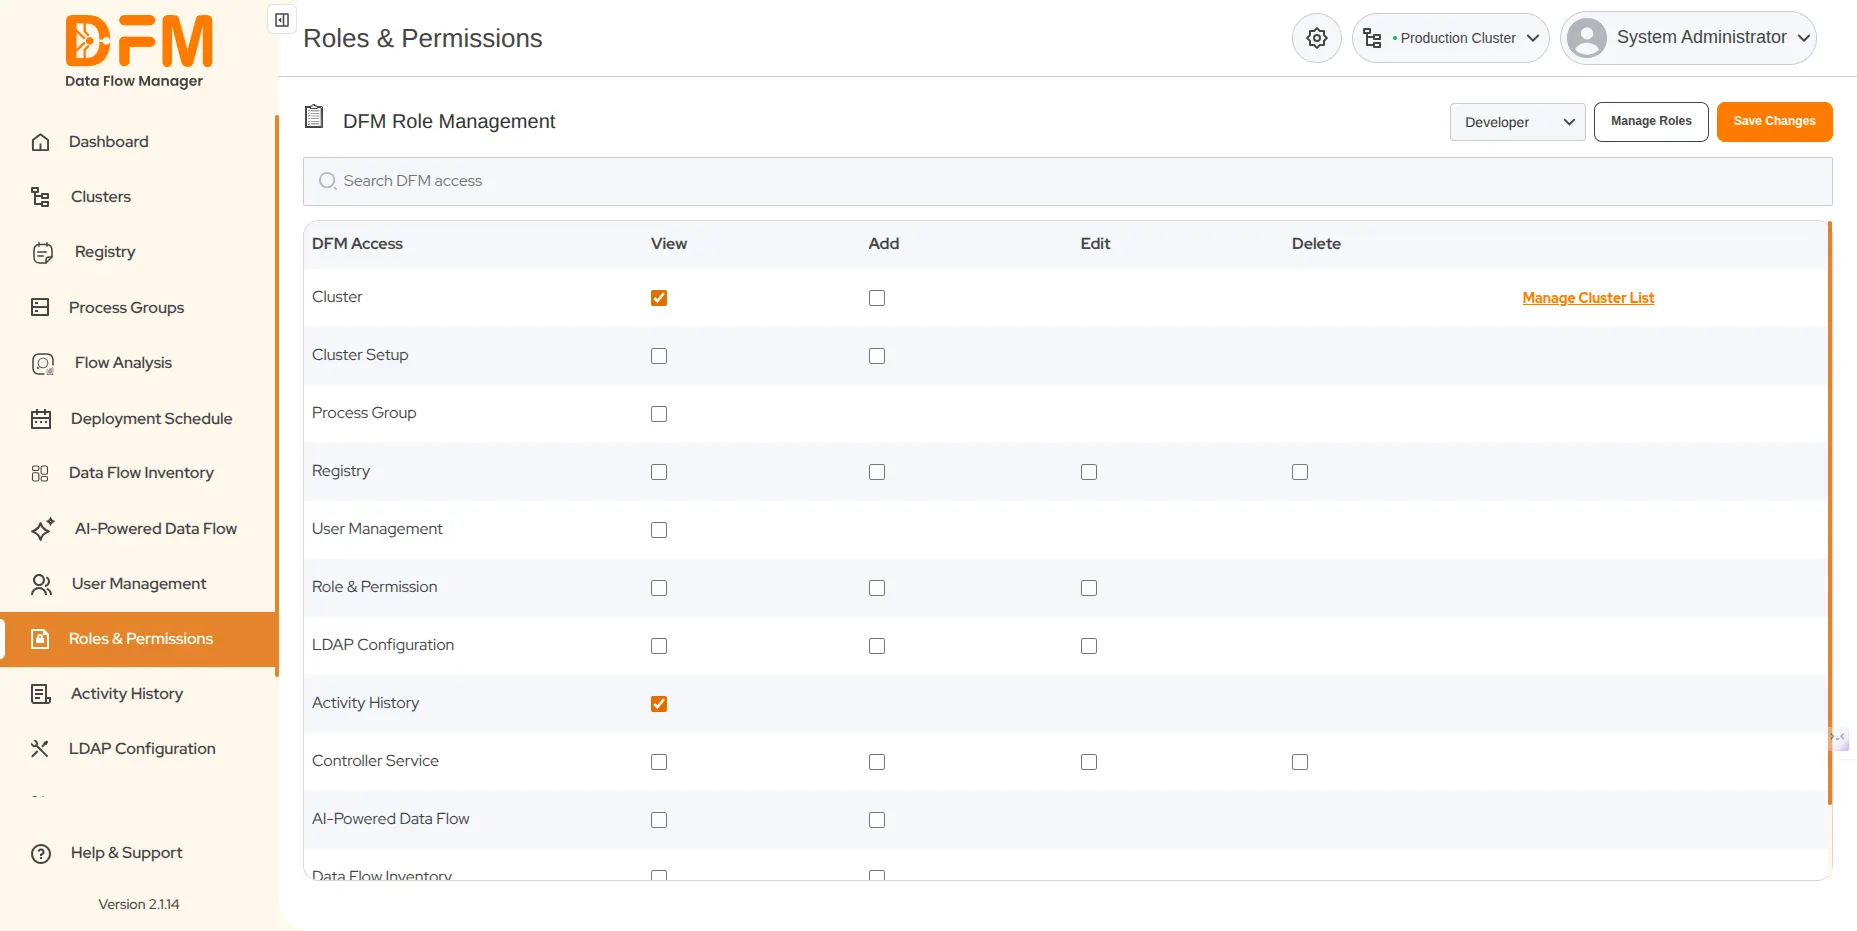
4. DFM Role Management
NiFi admins have the right to restrict user access to a few tabs of Data Flow Manager.
- Under the Roles & Permissions tab, select the role from the dropdown.
- Mark the checkbox to grant access rights to users under the selected role based on their responsibilities.
- Once done, click Save Changes. You’ll receive a confirmation message that the role access has been saved successfully.
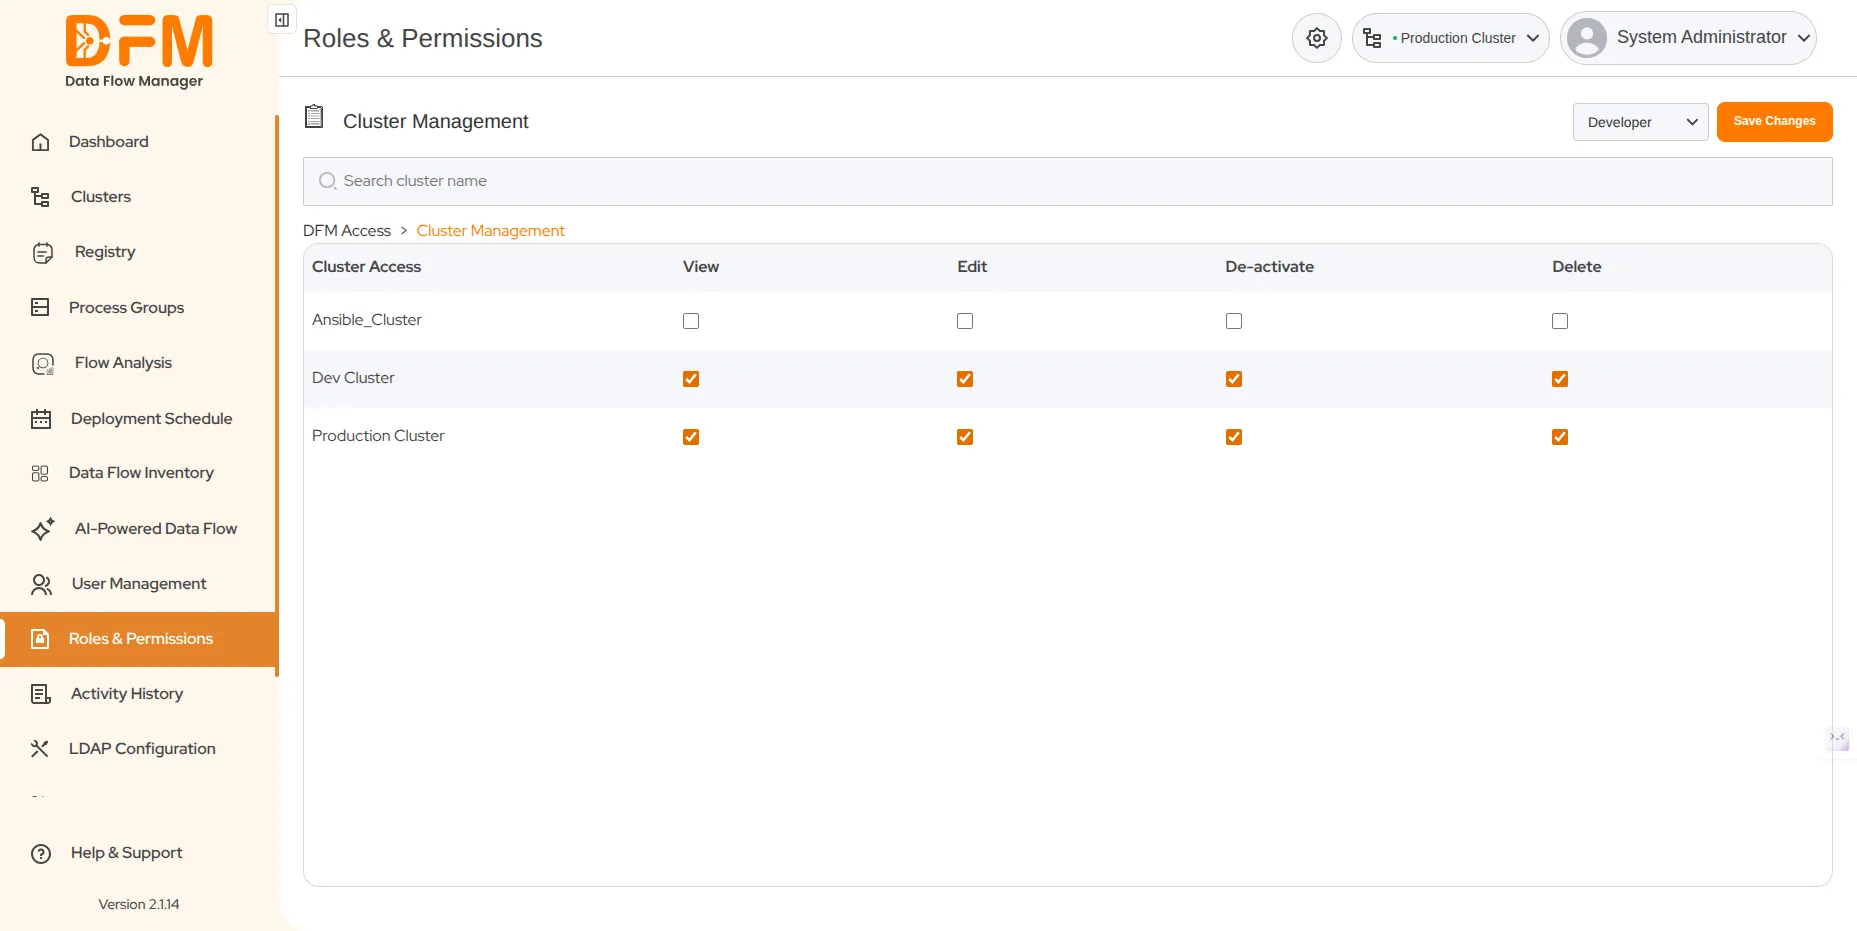
5. Cluster Management
To manage access rights to clusters
- Click Manage Cluster List.
- You’ll be redirected to the cluster list. Select the user role from the dropdown.
- Mark the checkbox for permissions you want to grant to the selected role – view, edit, delete, & deactivate for the clusters mentioned.
- Finally, click Save Changes.